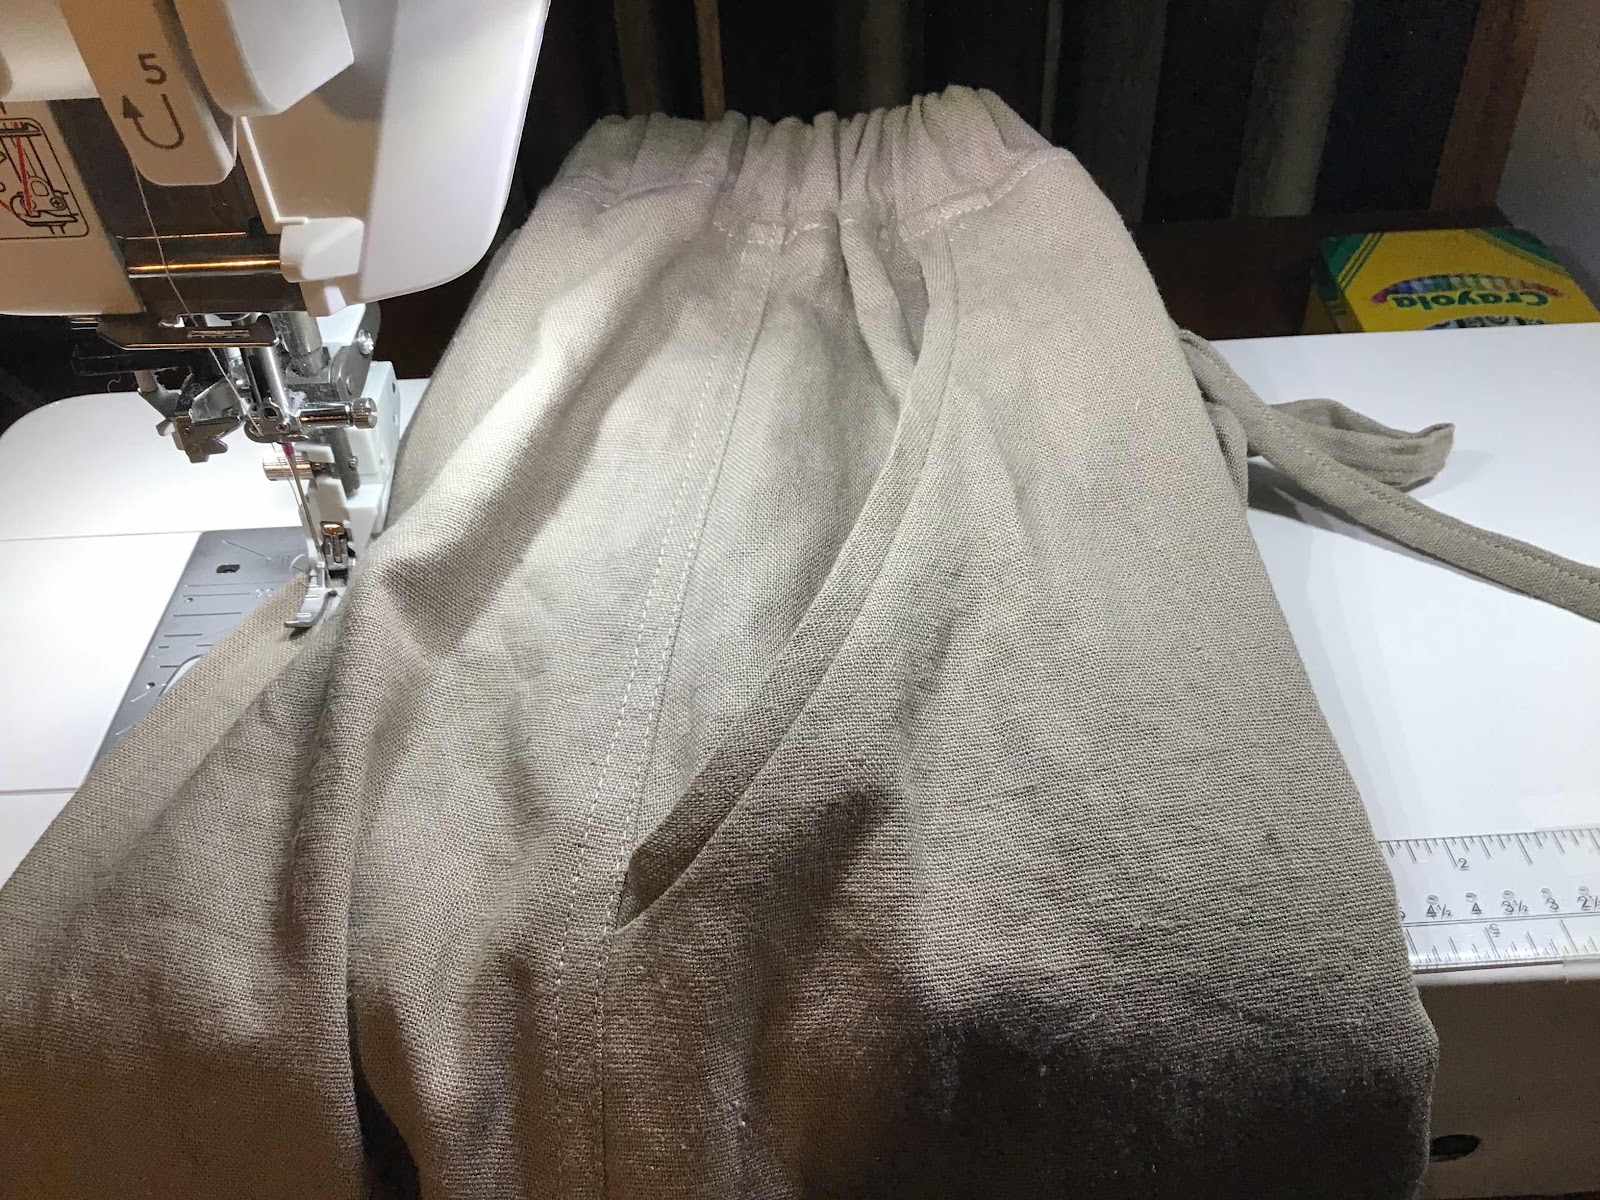
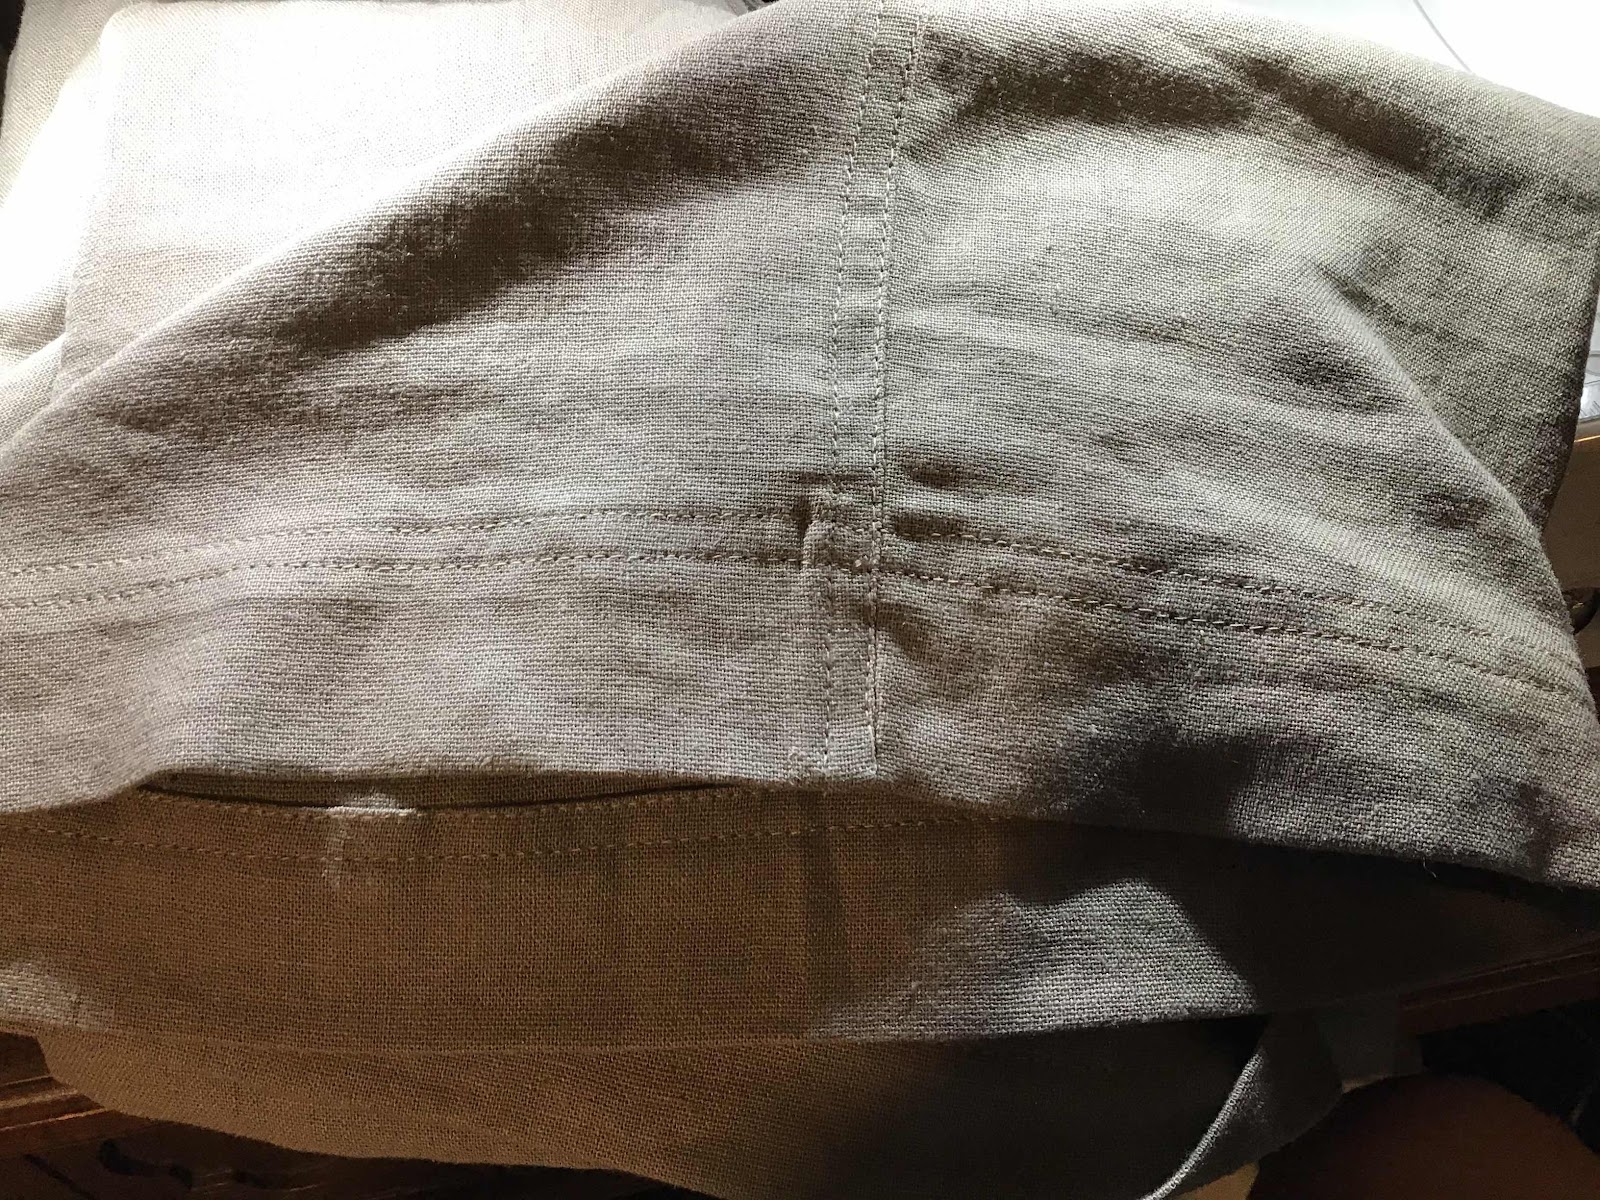
Well of course I was making those ties for something. I remember when I wouldn’t wear anything with an elastic waist, now it’s my staple. So, I needed some cool and easy summer clothes that were not shorts. This is a Lawley skirt, a (nother?!) free pattern from Elbe textiles. I didn’t think it was too terribly old, but I didn’t see it offered anymore when I just made the link. It’s a shame because it’s a pretty nice skirt, especially in a nice rayon/linen blend. It came in sizes A through M, which was from pretty darn small to pretty darn big. Still, before cutting out I read finished garment sizes and decided to add a few by decreasing the indent of the waist. This was pretty unnecessary. The instructions had you gather BEFORE attaching the elasticized waistband, why? I just drew up the skirt and waistband after sewing together. I added a couple inches to make the pockets deeper, and I was a couple inches short on the hem with my fabric.

I got to practice buttonholes on the M7 for the first time. Not tremendously impressed. It does require a stabilizer, I reinforced with a patch of self fabric. I put a slip of paper on top of the feed dogs before the fabric to get a clean buttonhole. Serviceable, but probably not quite as nice as the vintage singer buttonholer. When I make some to show, I’ll probably fire up the 201-2 and the ancient buttonholer she uses.
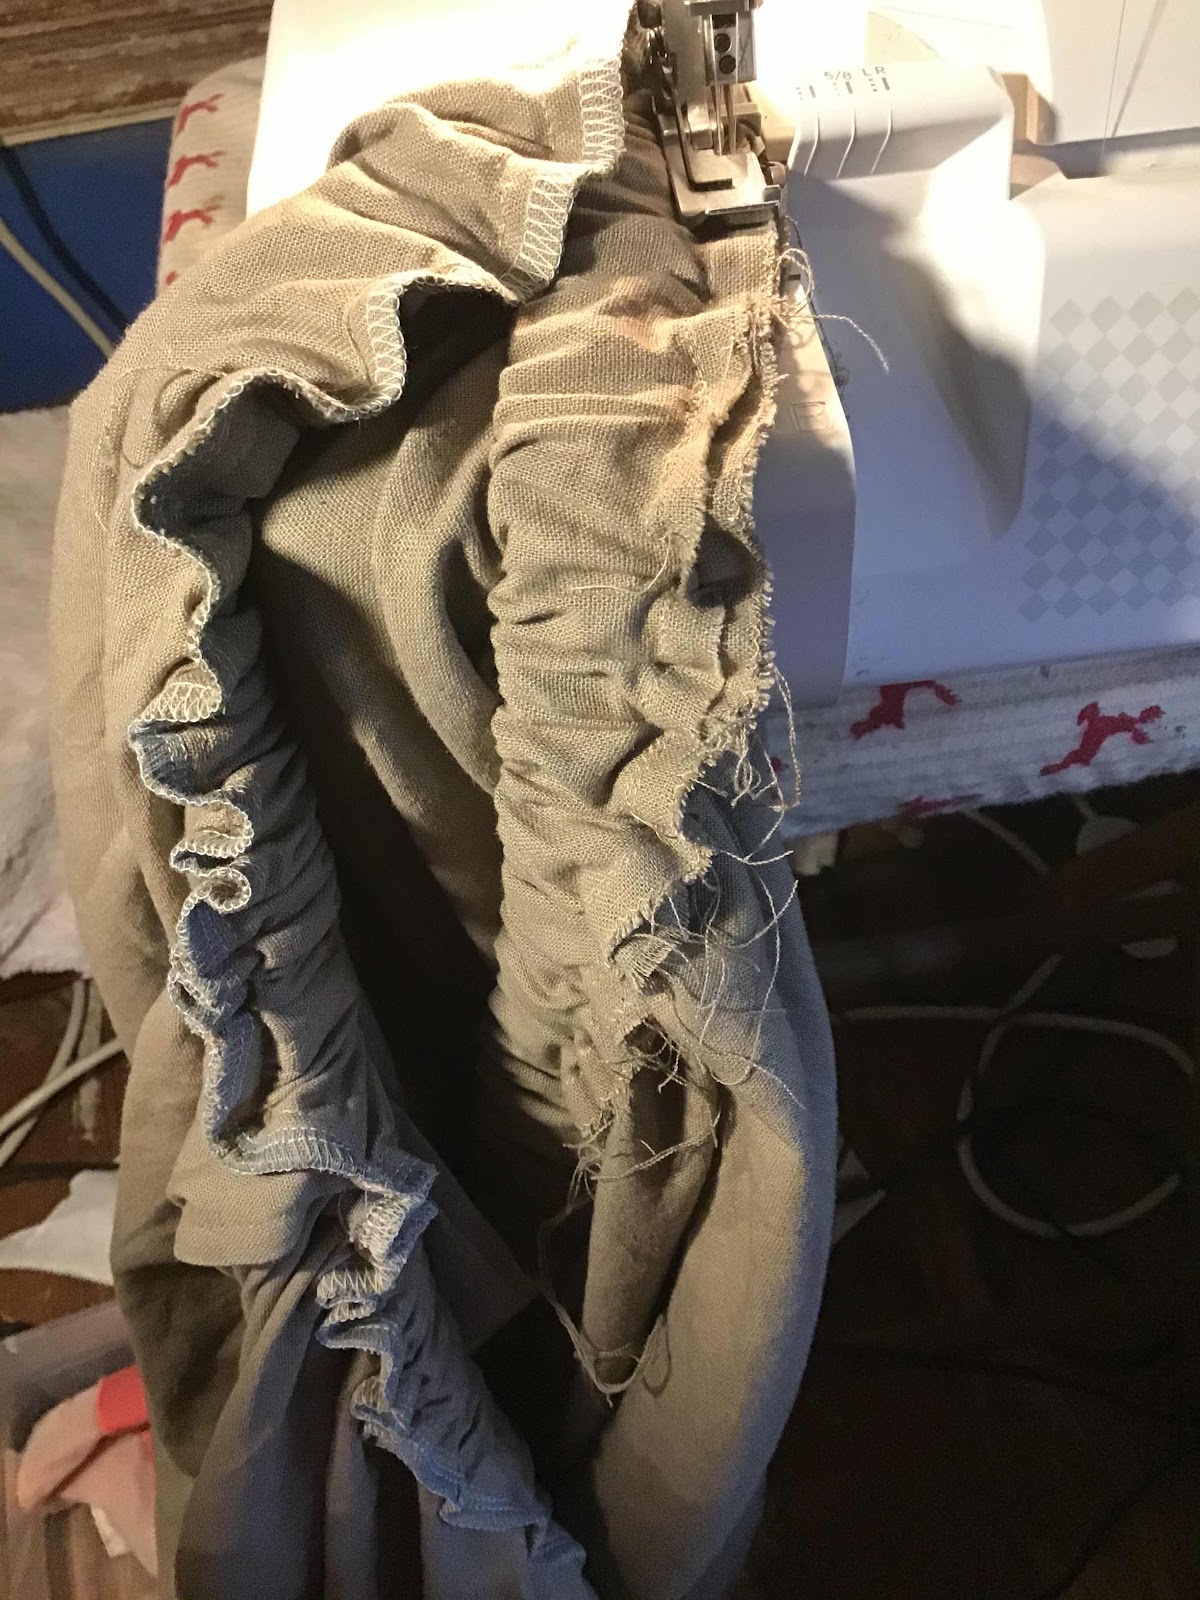
Thank God for the serger. I french seamed the side seams, but that waistband was a fraying mess!
I top stitched the French hems, the bottom hem, everywhere I could figure out a place to put down some stitching. I was finding it soothing.
I needed a body skimming appropriate top to wear with this, and found yet another freebie (I swear I DO have half a bazillion dollars worth of paid patterns!), Ellie and Mac curved hem pocket t tank. It comes xxsmall to 5x. I made 5x because that’s where I am now, freaking out about it and nearly naked. So, I made this top. I made no changes to the bust, shoulders, arm scythe, or length. Love when I can do that without a funny looking result.
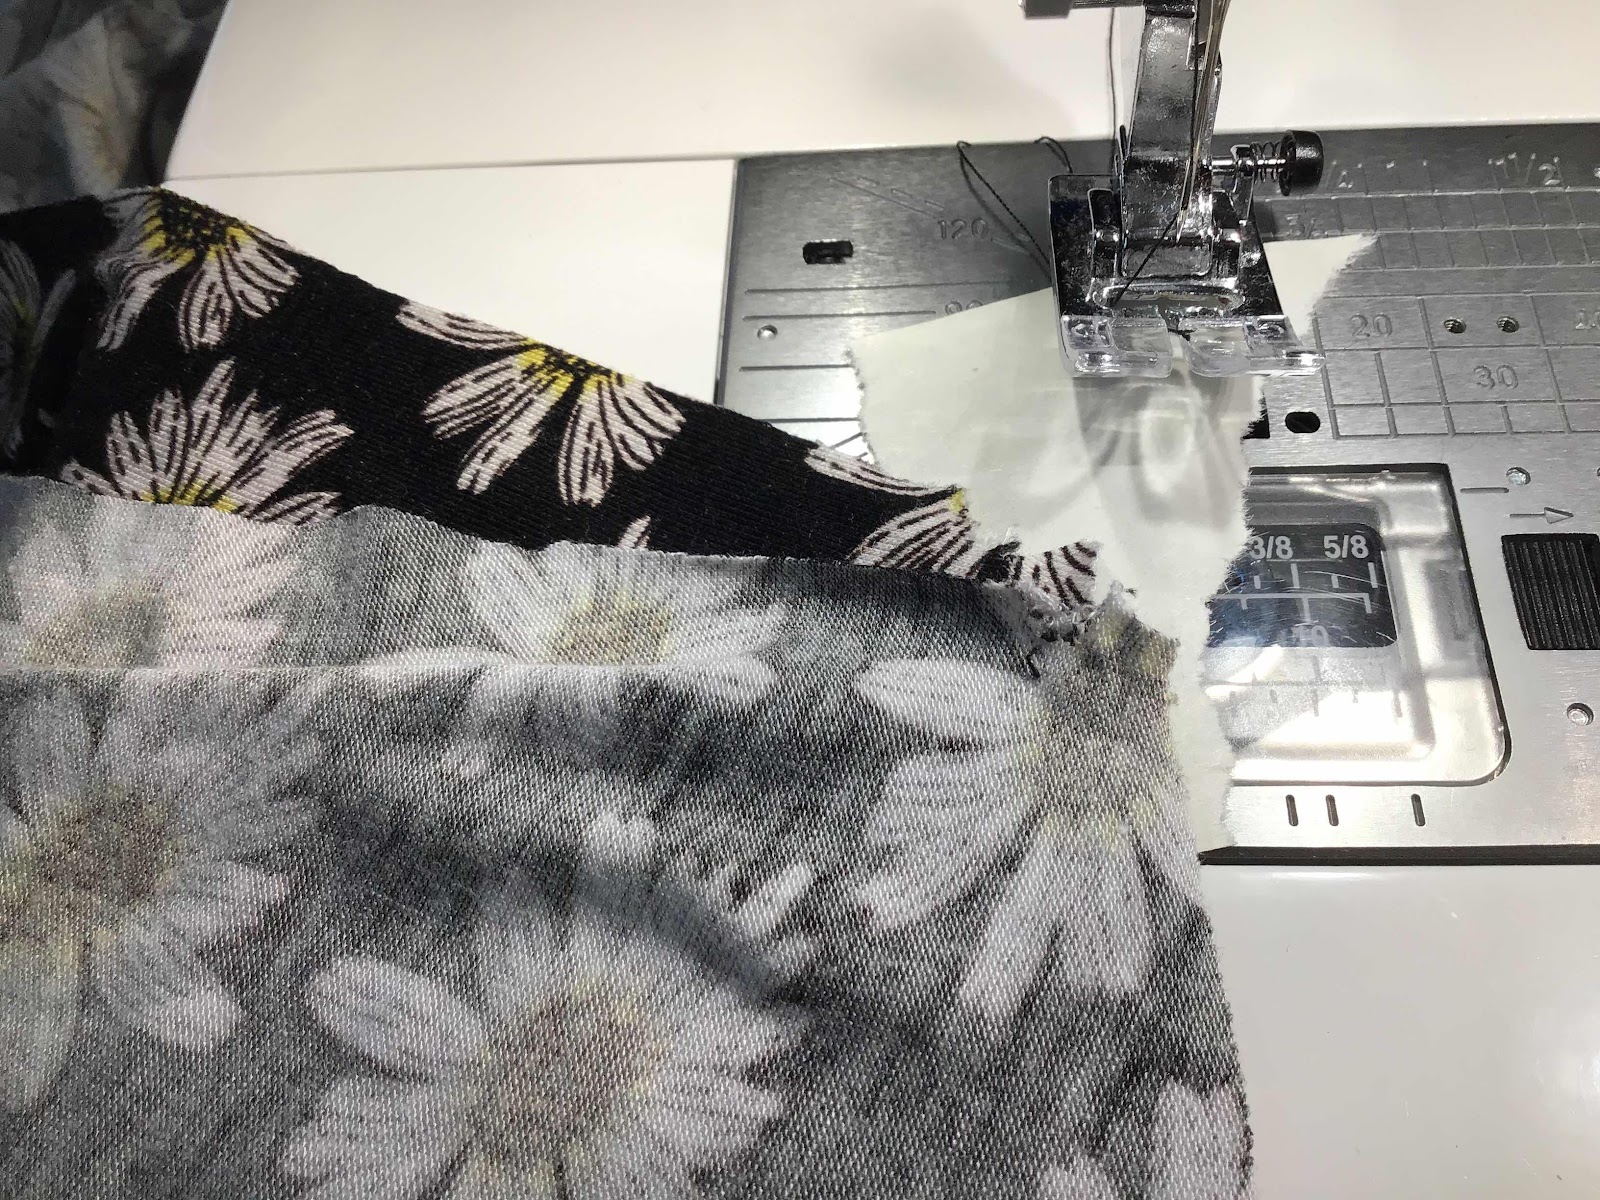
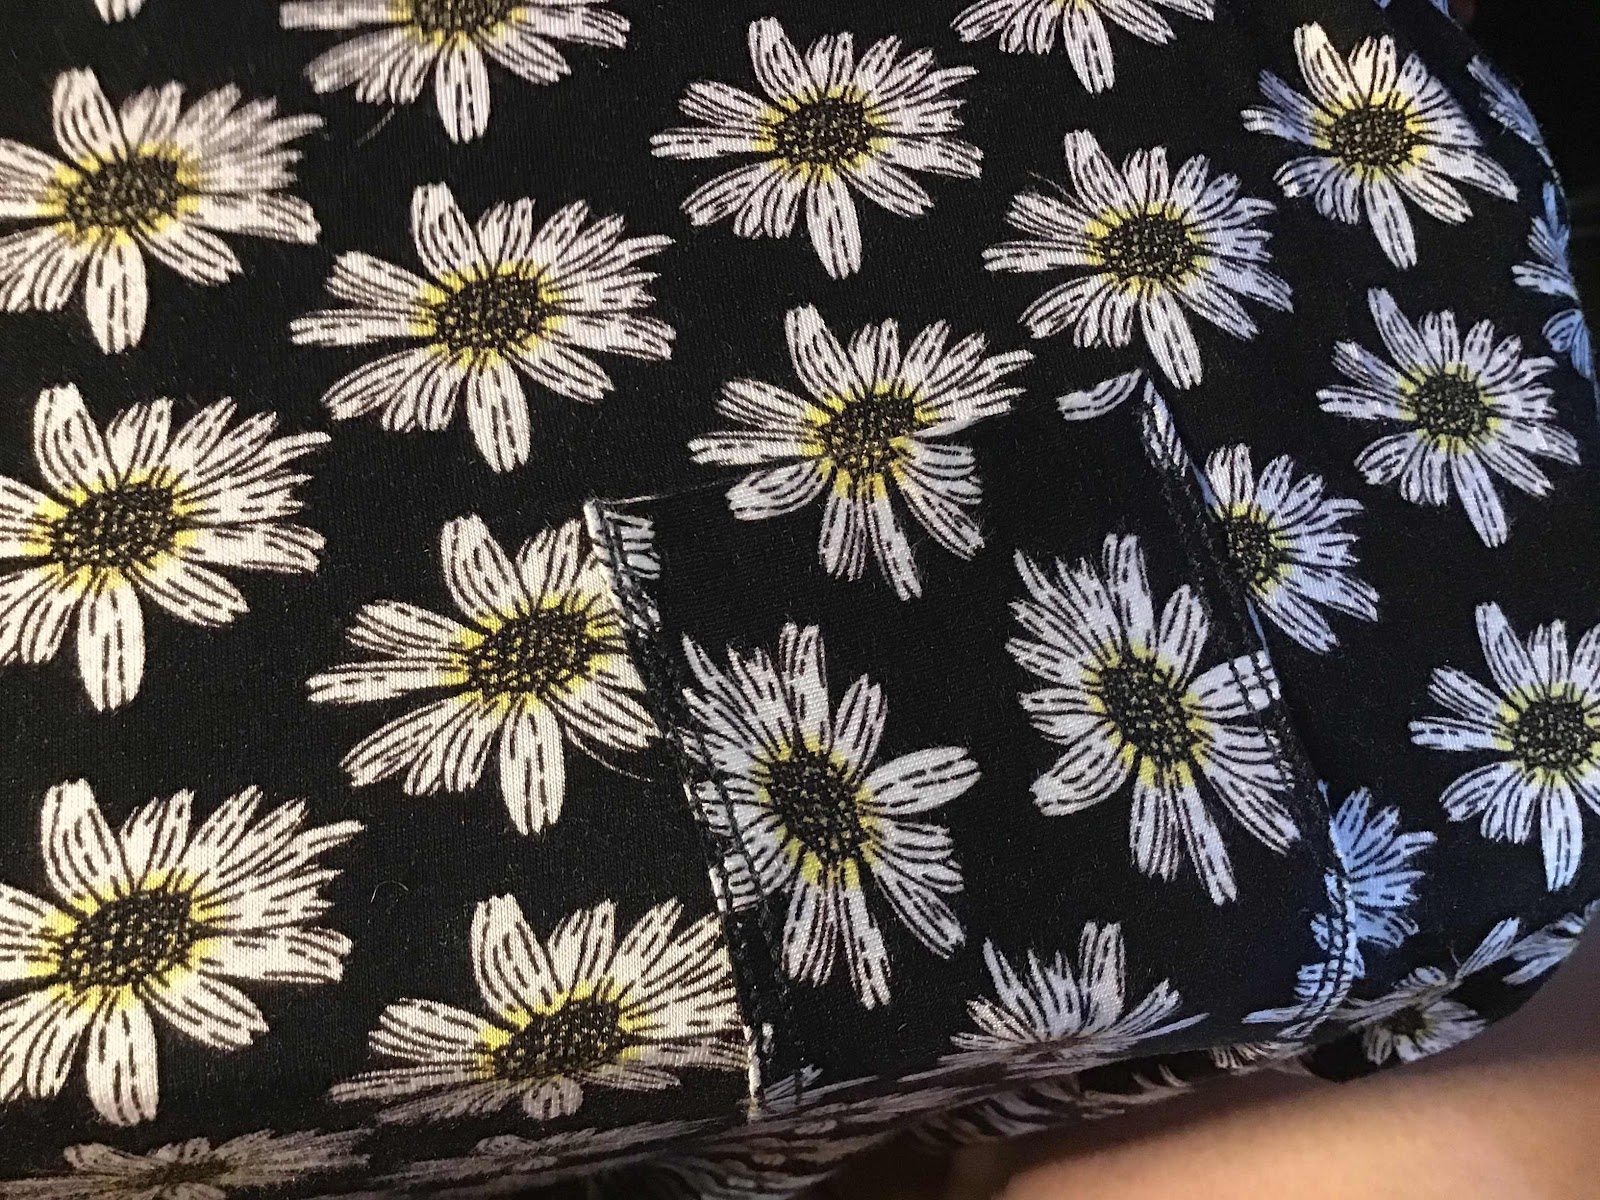
I had to use paper to prevent the machine from eating this tissue thin jersey knit, but after getting it started there weren’t more issues. Until we got to the pocket. All kinds of fuss kicked up over a little detail that I believe is kind of passé any way. But I got my heels dug in over the principal of the thing and had to get it on the damn shirt. I wished for hem tape, but I had Elmers school glue. I got it on.
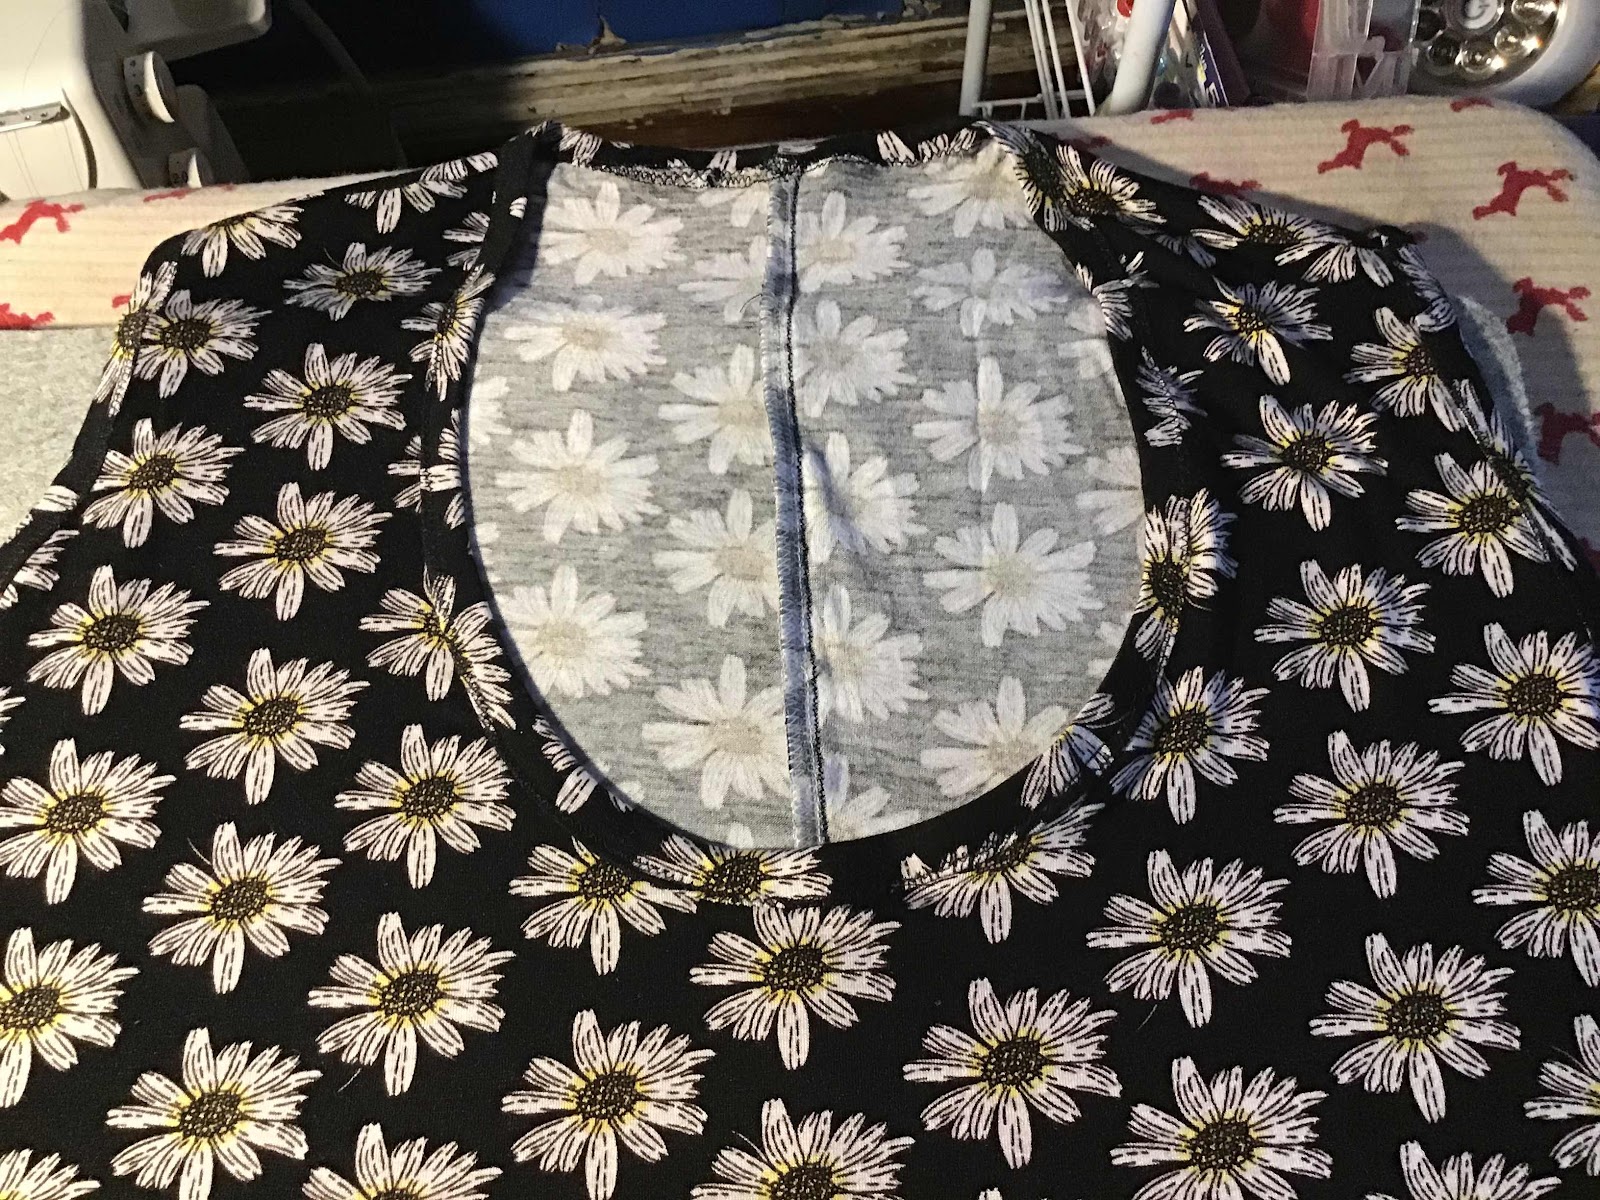
The arm and neck bindings didn’t cause me much stress. The busy print helped. I used a zig zag because stitching disappears from 3 feet, if this were a solid I probably would have twin needled.
I got a bonus garment from the daisies. I can’t remember where this came from, or how cheap it was, but I think it was a deal. I’ve been making this no-brainer summer nightgown since 1976 or so. Sew two square panels together, leaving 3 or 4 inches open on the top end of both seams for arms. Finish the arm openings in a hem, turn over the two long sides to make a casing for the top and hem the bottom. Because the fabric is so thin, there is no drag and barely any weight to this swingy stretchy easy on off summer garment. I spend a lot of time nearly naked at my house and I’ve really needed this in my life for when some daytime person knocks on the door for something. Or family shows up when I’m sleeping.


The straps have been stretching so I have been shortening them. Otherwise, the gown sinks lower and lower.... It has the most perfect shirttail hem from all the gathering in the middle of the front and back. Don’t remember that from previous incarnations.

My third and first really awful covid haircut, and a rainbow. Despite loosing those inches for the hem I think it’s long enough on my 5’11” frame even after turning up 1 1/2”. Deep pockets keep stuff in the pockets.

I would never wear it tucked in, but I hear you are supposed to show it?

Like wise the back view. I’ve got a waist? Must be just in the back. I’ve never seen an indent like that on me anytime. I’d give it up quickly to loose a hundred pounds. I’m going to have to do it, I’m garnering strength like I did for quitting smoking. That took a couple years to do, as I recall. I got there though. I have never been more than a few pounds over until I hit 50, started working nights, stopped my active lifestyle and went on crutches for a year as I sailed into menopause. Haha, and quit smoking, hahaha. Maybe I could quit eating and just consume vodka, those ladies are usually slimmer. No! I’m going to start walking and yoga on a regular basis. I have a mat at both client’s houses, my truck, and a couple at my house. I need to commit. Sigh.
I’m sewing another pair of self drafted panties from Beverly Johnson’s craftsy class, and I made a boob ham from Porcelynne’s free pattern. For pressing bra cup seams. Then I’ve got some baby stuff planned.