The brief explanation:
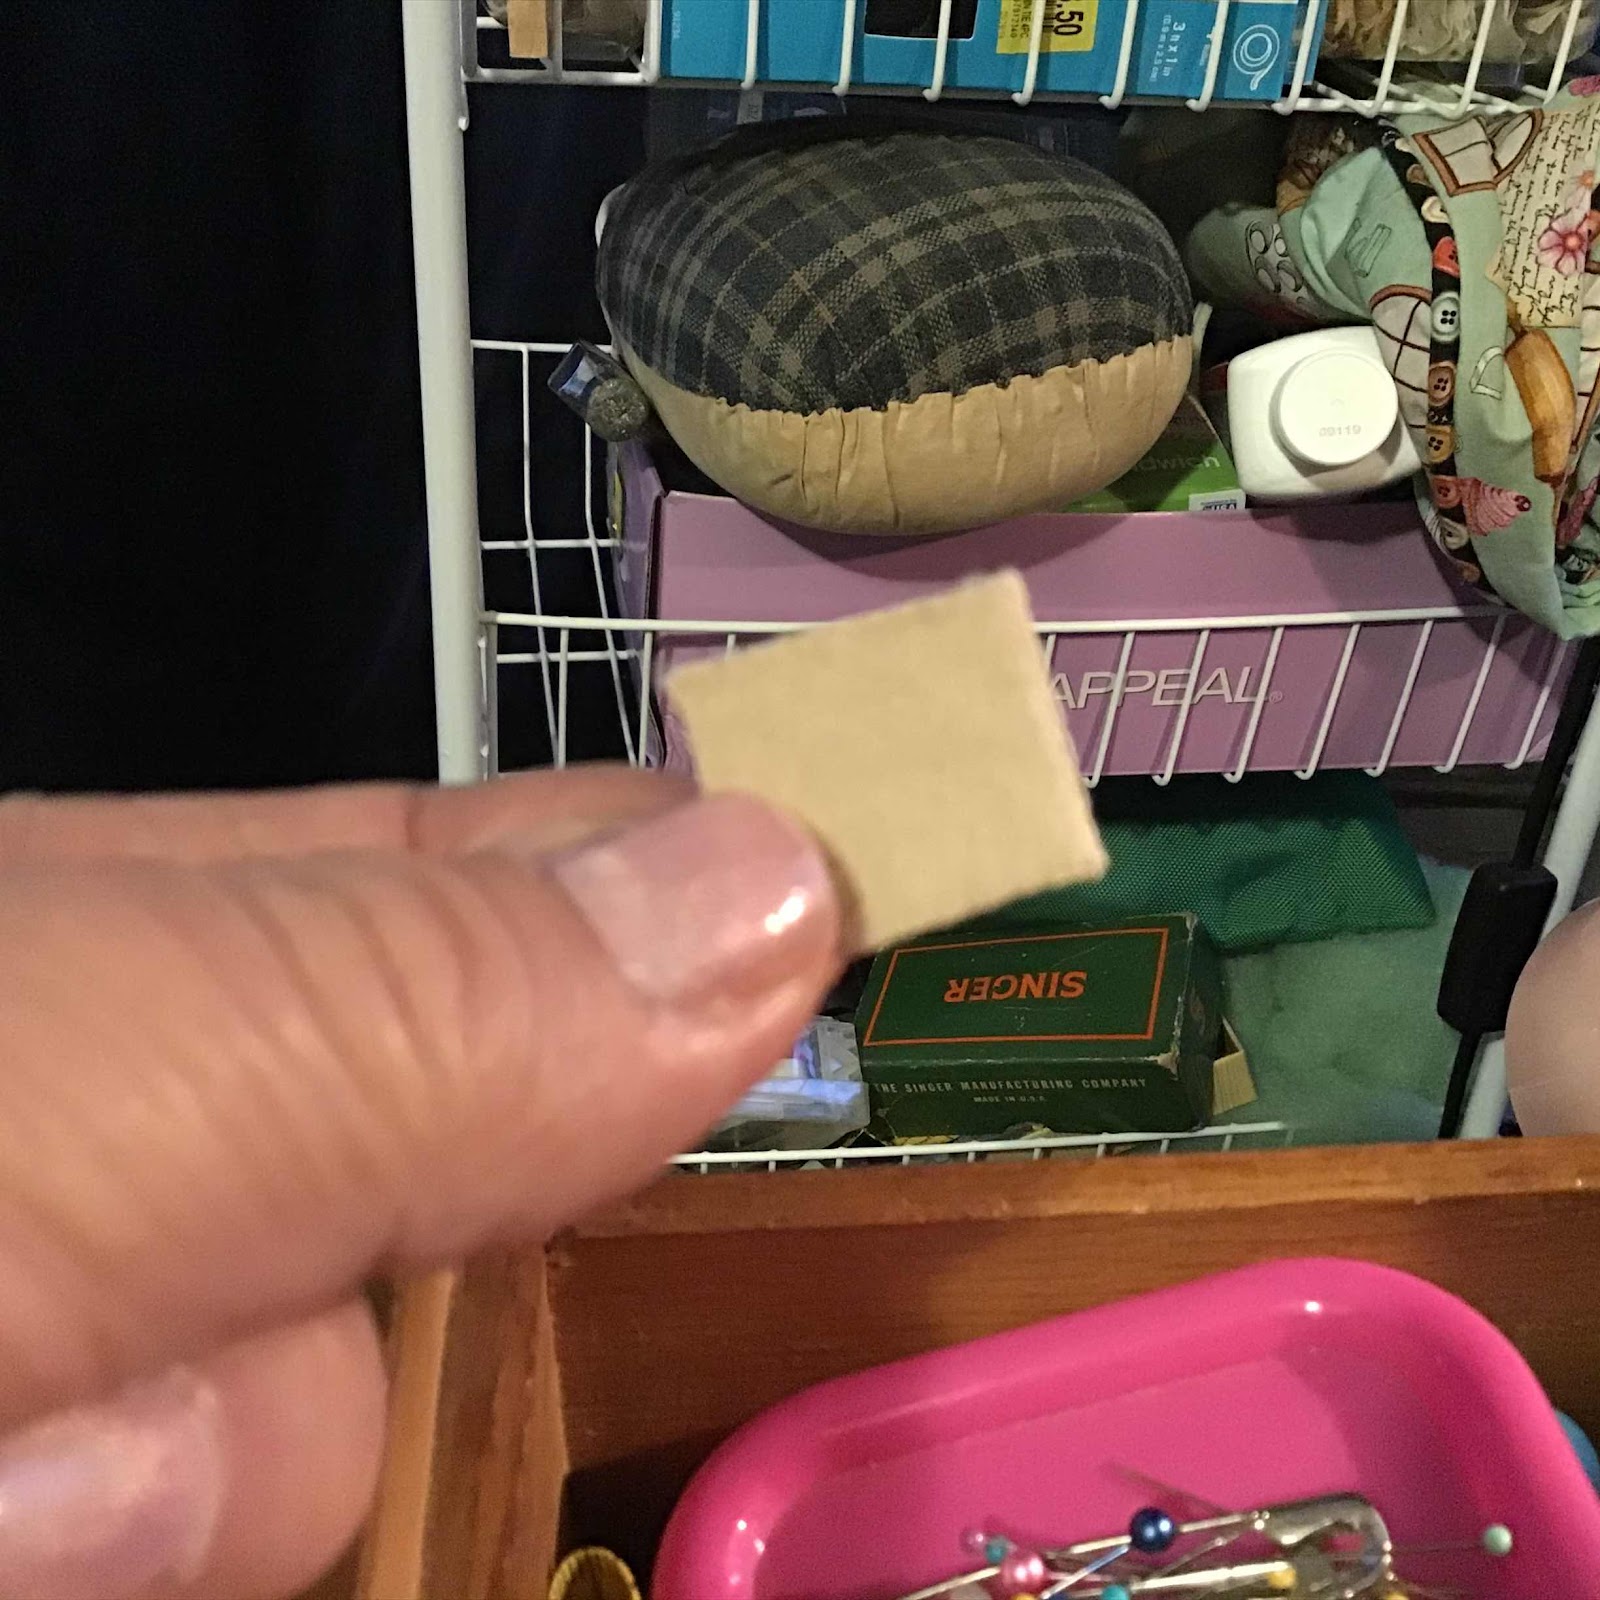
1. Fold a piece of card the width of your strip in half. Open and fold edges in to the middle. Open again.
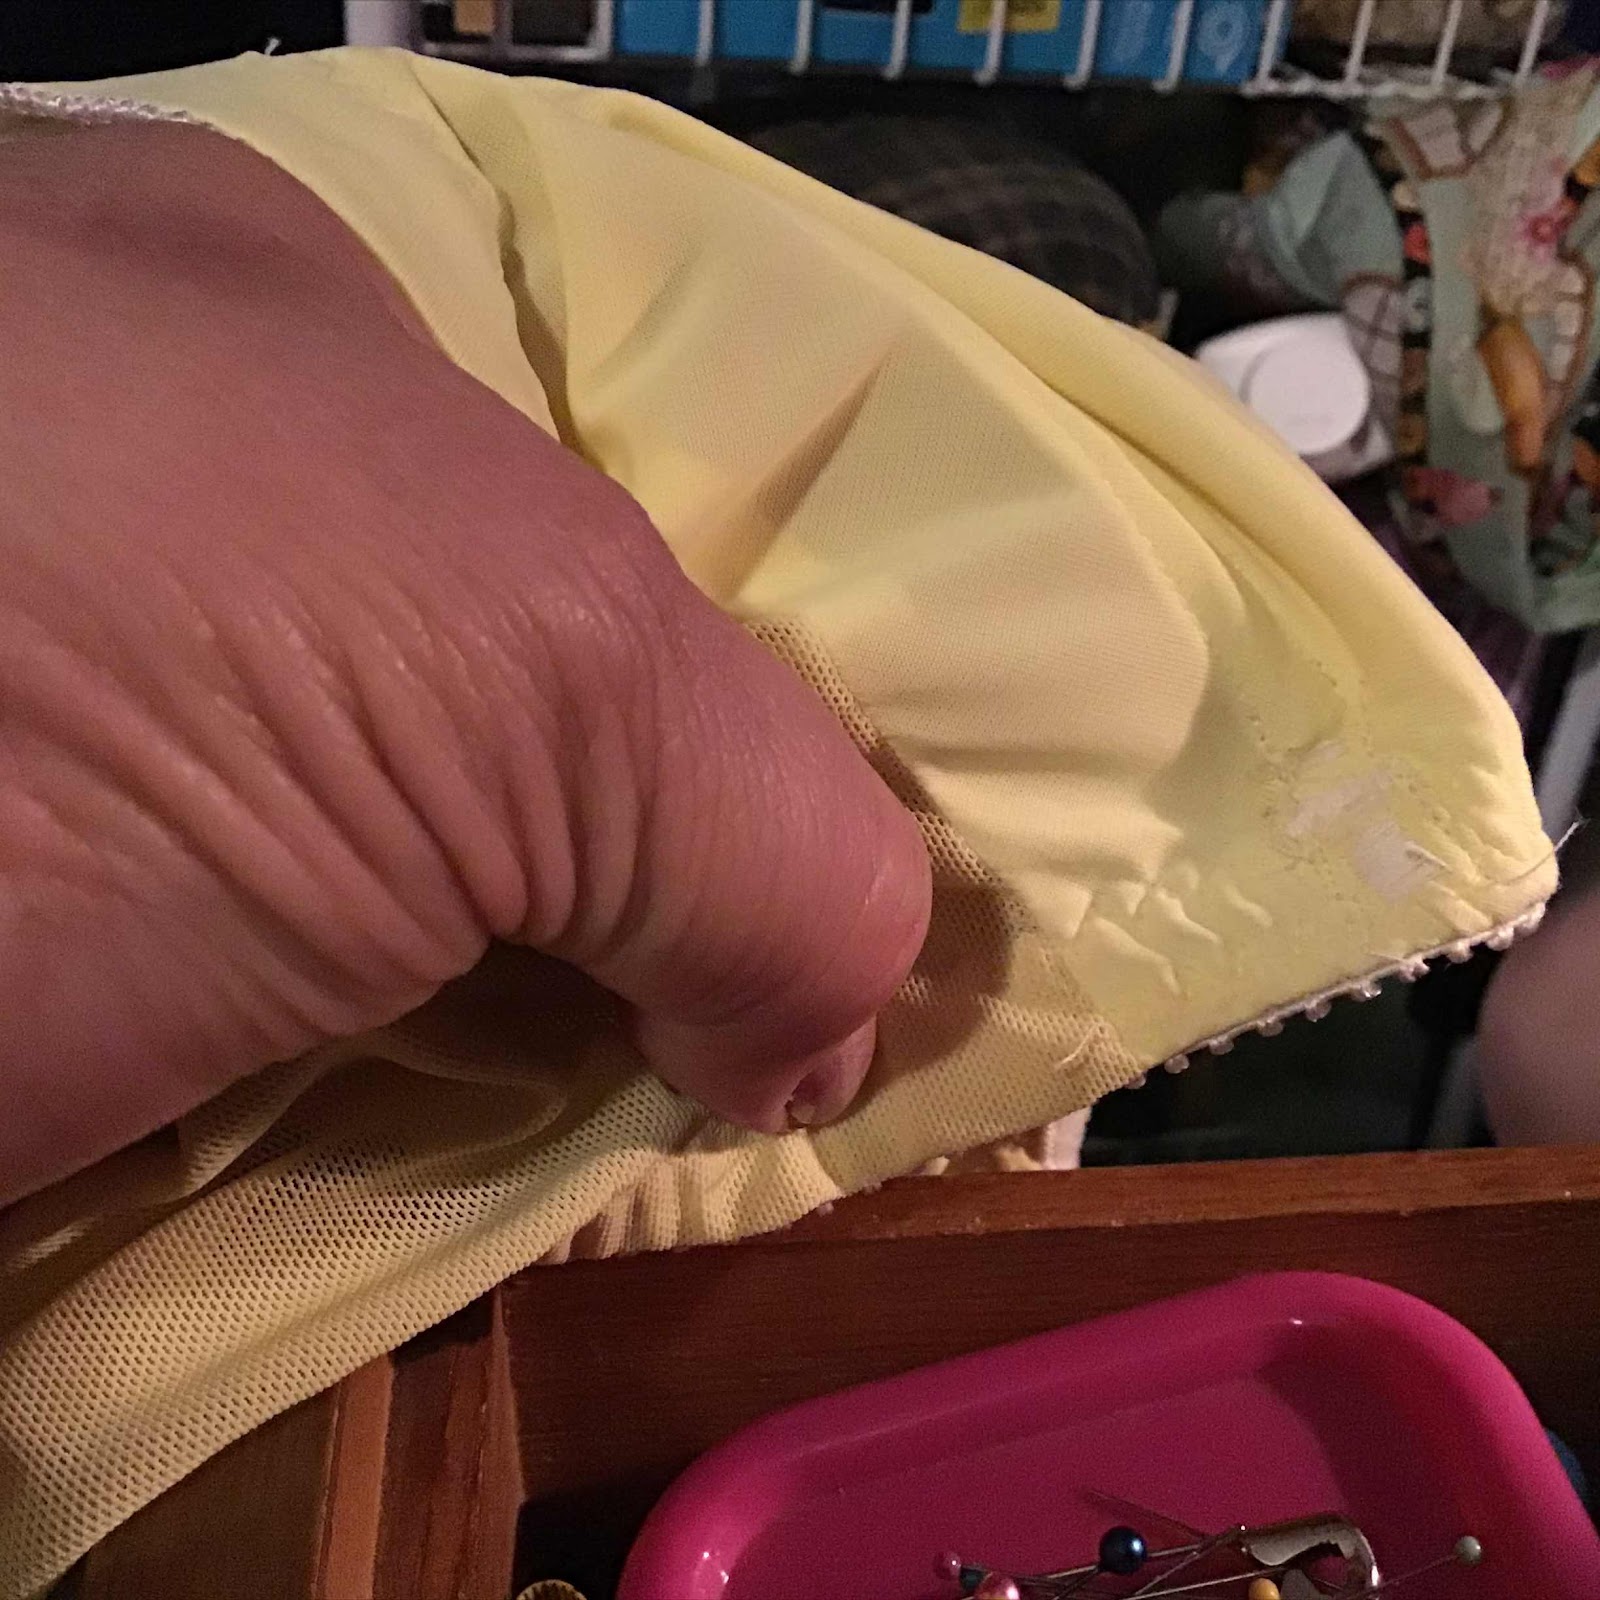
2. Lay your strip on folded card and fold up into double folded strip of either bias or straight of grain.
3. Pull it through to press or directly to machine needle for sewing.
I’ve spent the last hour or so hunting for a link to where I learned this technique this spring, but I can’t find it. Somebody somewhere called it a jig or something, seems that it is used in industrial sewing sometimes. In any case, I learned it in my mask/scrub cap making frenzy this year and it’s HANDY and I want to pass it on.
I imagine I’ve made several miles of folded strips, either bias or straight of grain, for binding or straps or some purpose through the years. I have used the metal bias binding gadgets, I’ve used the old singer attachments you screw down on your machine to send it under the needle, and I’ve spent too much time folding and pressing and trying not to burn my fingers. Bag all that! Well, I might use 1 or 2 again but I hope not 3. THIS method is great because you can make it whatever size you want and you can make a new one and not have to hunt for where you put that sucker. Works great.
Doing this quick and dirty tutorial from my home health job not my house, with stuff I had already recorded for a possible upcoming post. So, meh on the quality of photos but I think the technique is easy enough to grasp.
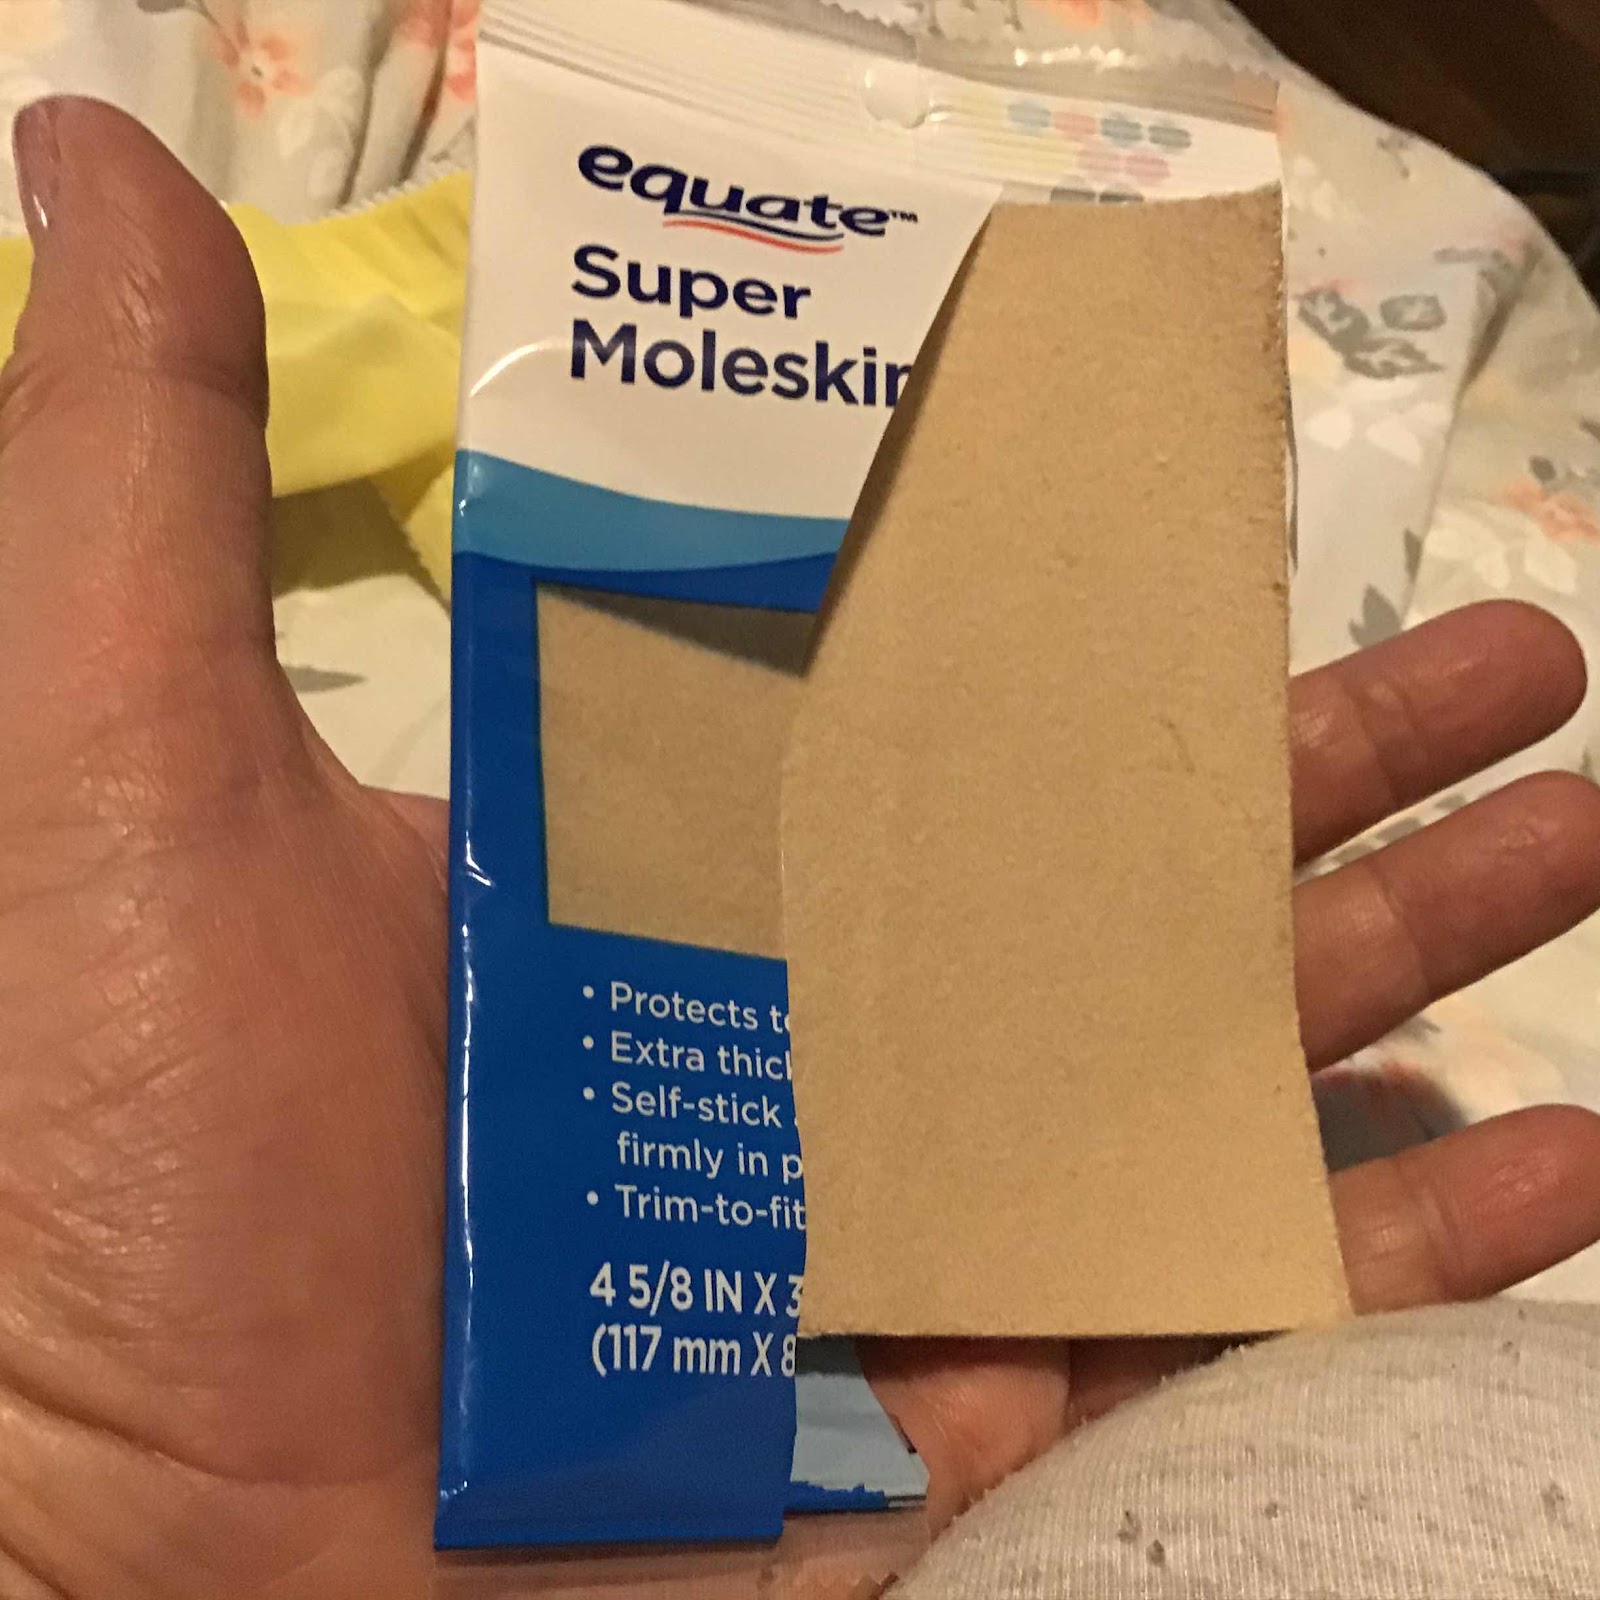
I like card stock, flimsy cardboard, I used an index card. Cut out a piece 1 1/2” to 2” long by approx the width of your fabric. Fold the width of card in half , open it. Then fold the sides in to that inside fold. You will have 3 folds; the middle and two sides.

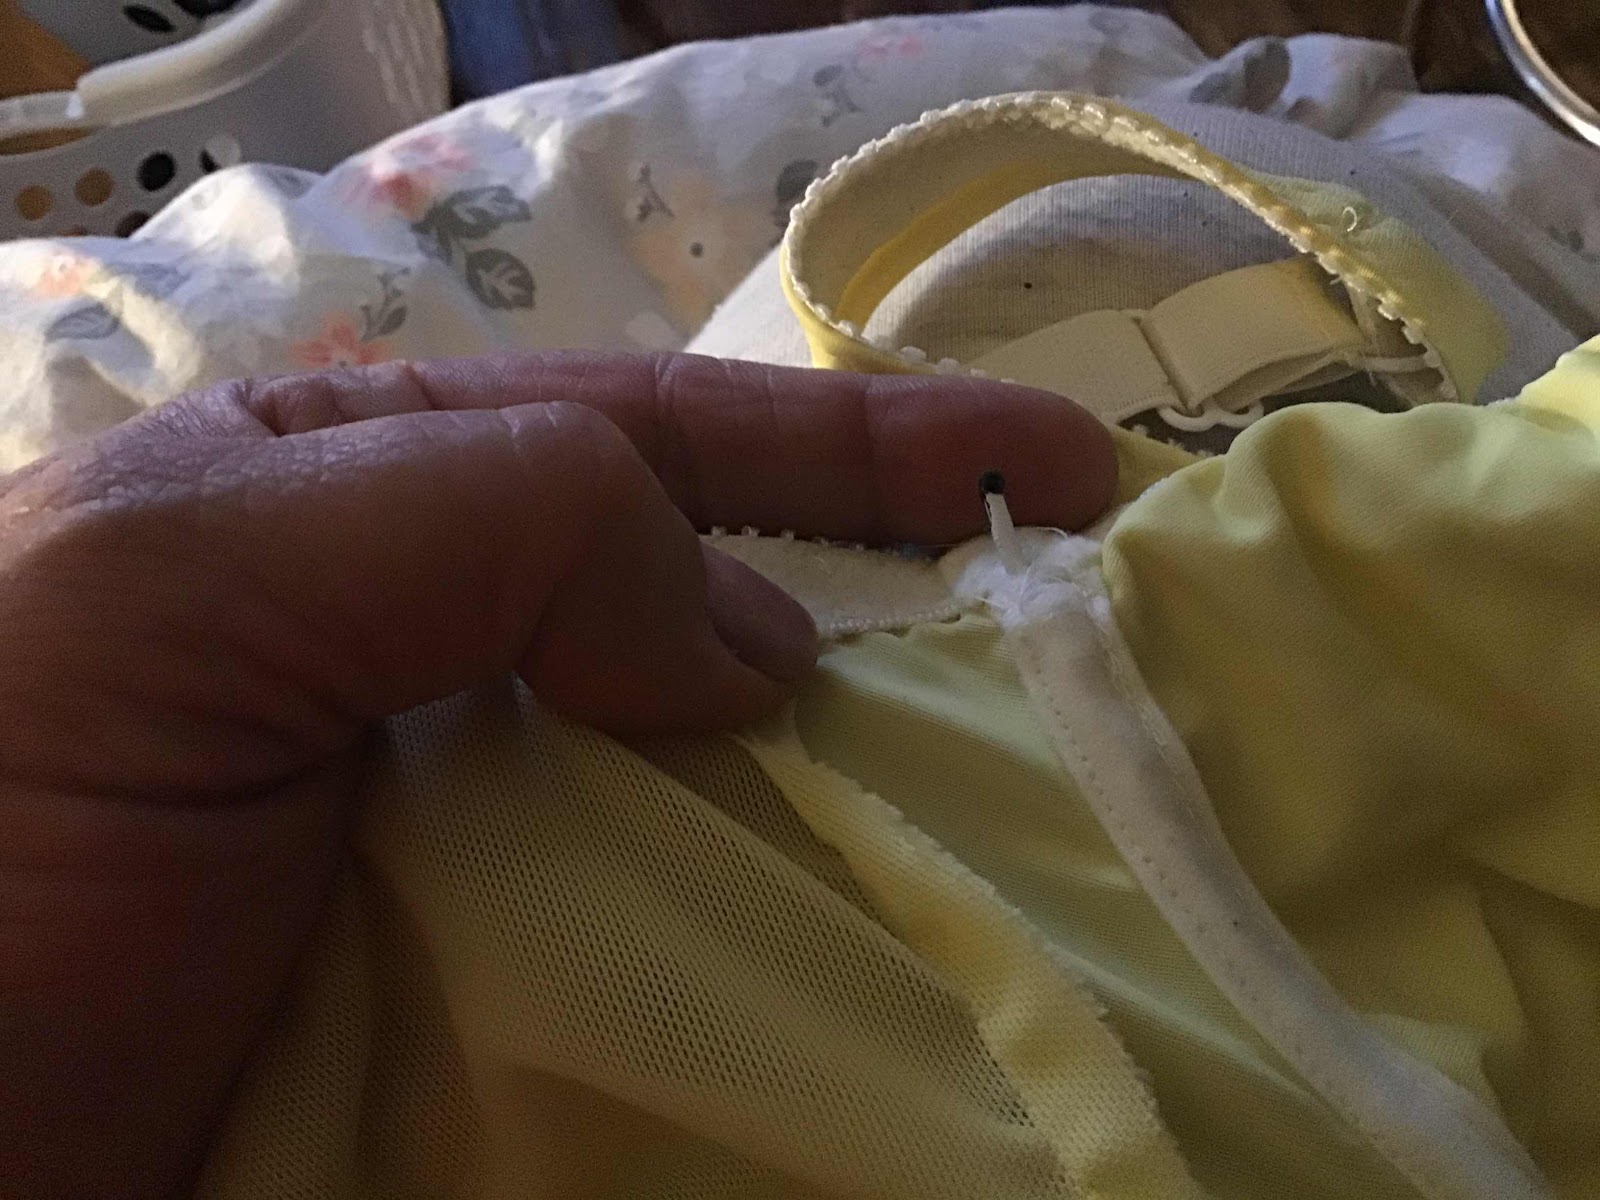
Then you can insert your fabric strip, and use the paper folds to manipulate the fabric into a double folded strip.

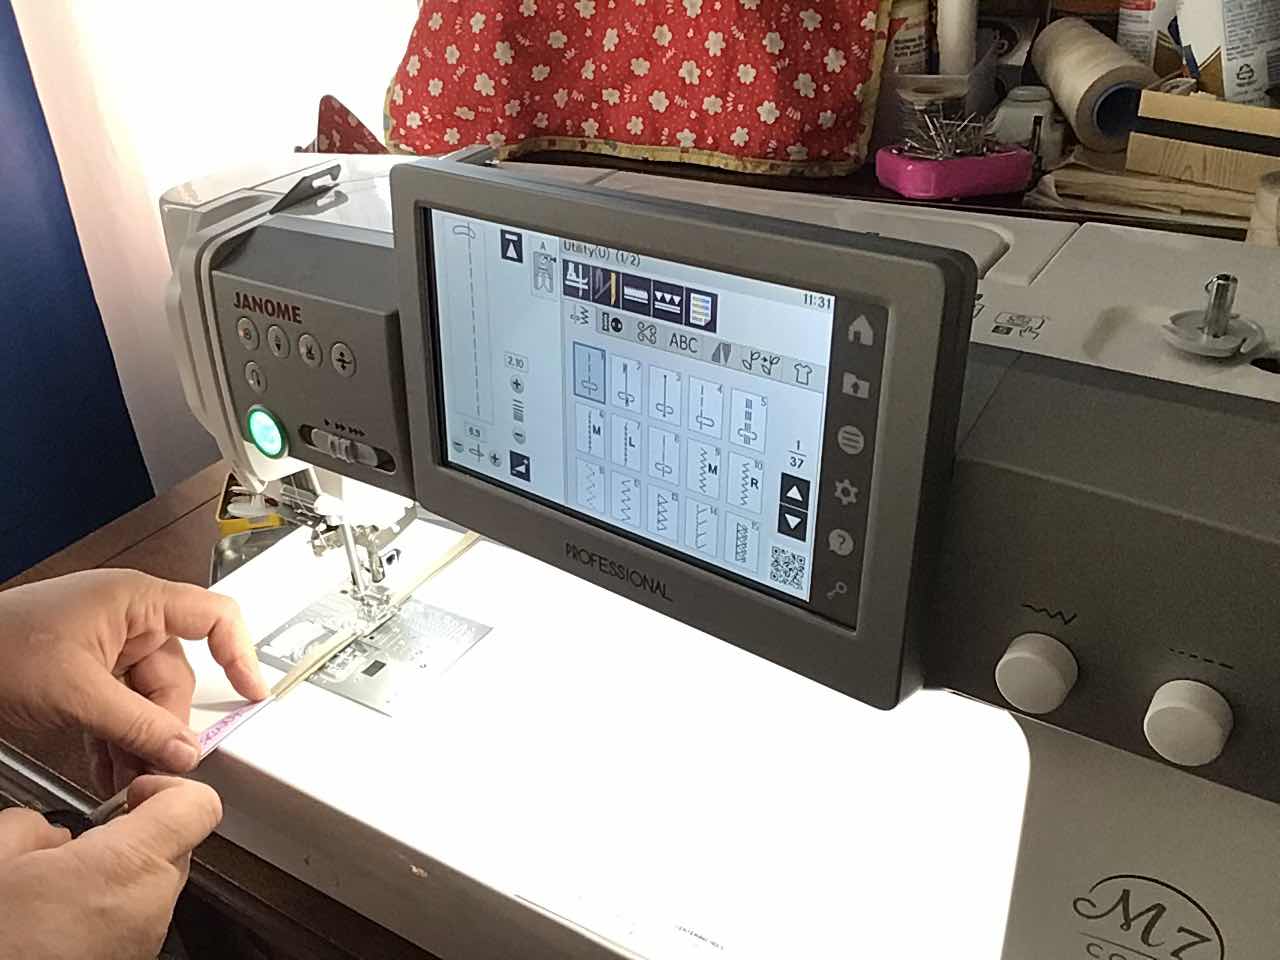
Send the folded fabric under the presser foot and sew if you are making straps. Cord or elastic could be inserted along the middle fold if you desired. I imagine you might be able to guide one thickness of fabric enclosed in the fold (like the red fabric bordered by yellow behind the sewing machine) but probably not a quilt. Of course you could pull it through to an iron instead of sewing without a press, but if you can skip that finger risking process, why not?. This is a rayon/linen blend cut on straight grain. 100% cotton was much easier to slide through and sew. The linen blend wanted to flatten out very close to exiting the tube. Still, not much hassle at all.
I was so pleased to find the folded paper trick. I hope it can help someone else out.