Sunday, September 29, 2019

The free Maya Bra

I’d like to get three wearable bras made before I move on to cold weather garments. The Shelly I showed in my last post fit rather well, but the wires were off just enough to bug after a few hours, and the lace on the top cups was as scratchy as sandpaper!  I’m not sure if I threw it out or buried it, but it isn’t going to count as one of the three. I am giving the Maya pattern a spin this time because it’s one of the patterns that I like best. Kind of amazing that it is also free. I am under the impression the designer plans to return to the instructions at some point, but as of now the outline is complete but the tutorial stops after the band and cups are done, but before straps and elastics. I’m pretty confident I can complete it and I’m trying to record what I’m doing all the way through, so I can make improvements for my next Maya and possibly do a sew a long video for people who might like some additional guidance on that particular pattern. I’m no expert, but it could still help someone.

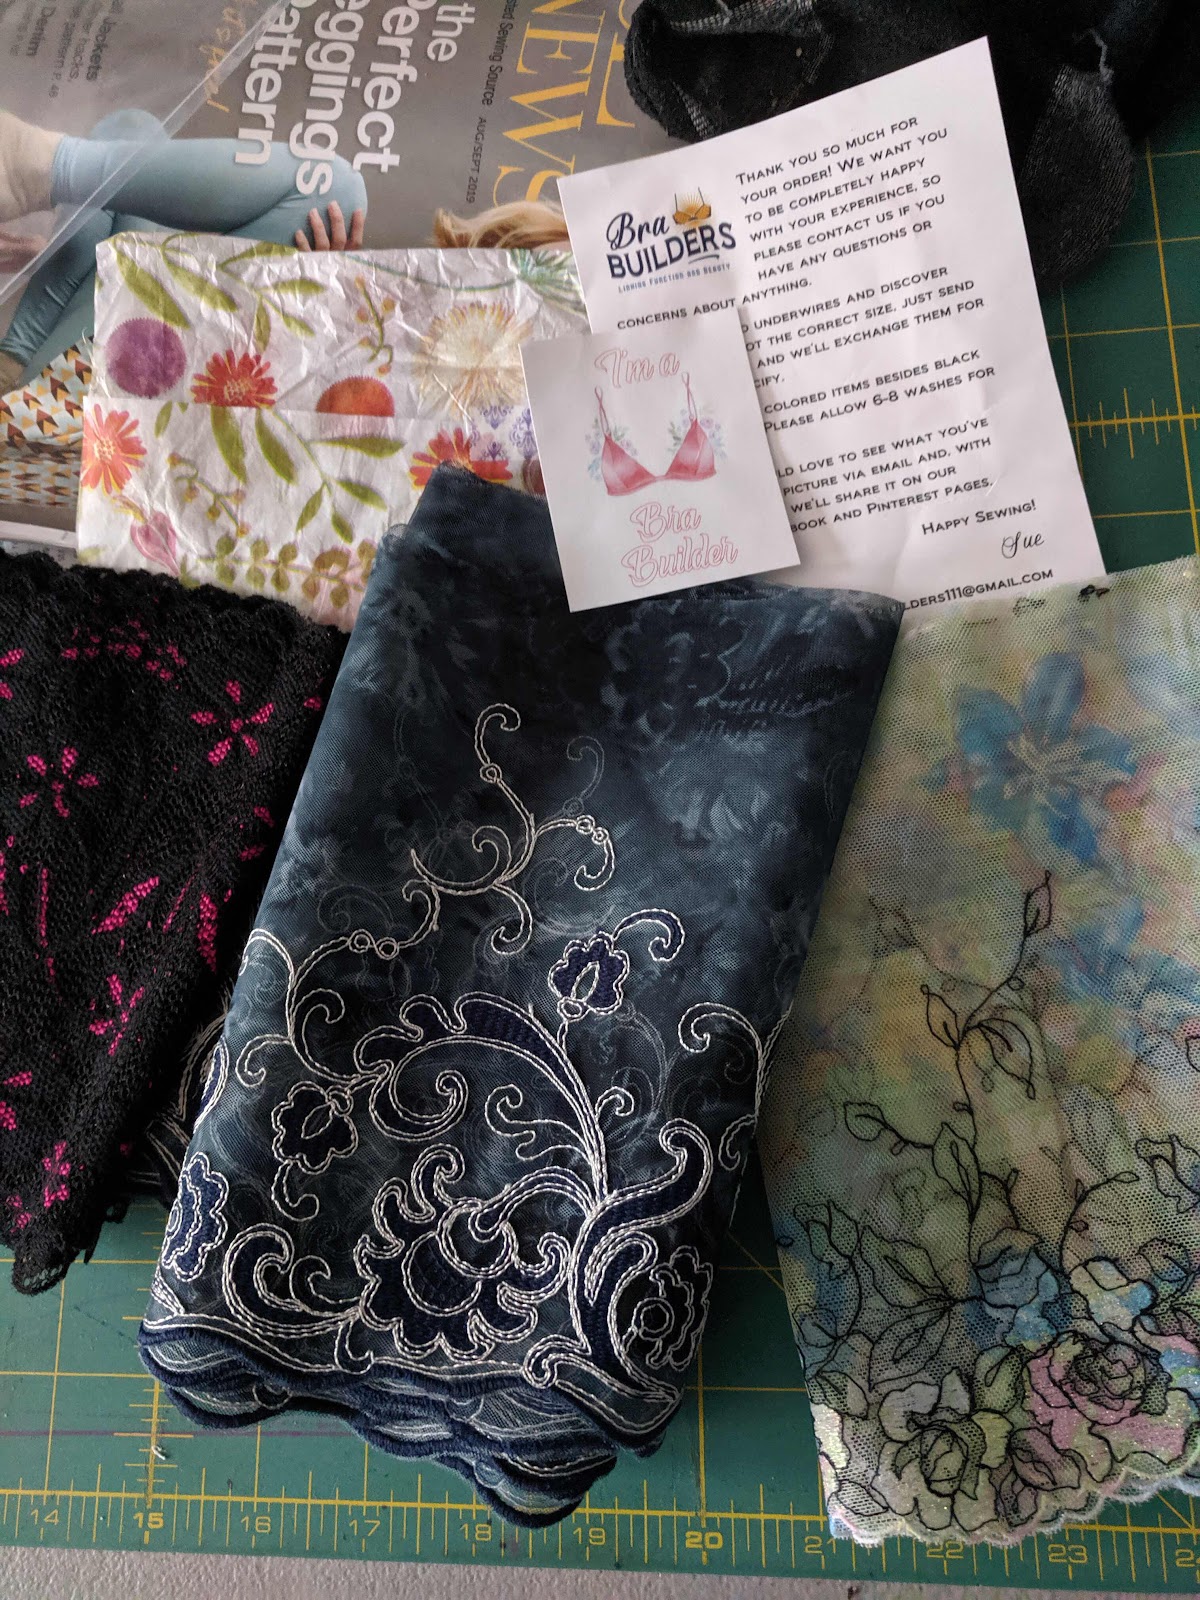
The bra is downloadable at AFI atelier. Measure carefully according to directions, don’t imagine your RTW size will work. You can cannibalize wire, strap rings and slides, and a back from another bra. You will still need the right elastics and unless your stash is very versatile, the right power mesh for the backwings. Also a sturdy lining fabric for the front, that frame is where the support comes from. Might as well head to a great lingerie supply store and get all of the right stuff, and WIRES that fit correctly are the most important part of the well fitting bra. Most suppliers have sizes you print out and compare to the measurements you have taken, best discovered by bending some flexible wire around each breast (they can be different enough for you to need to know). If you don’t find good instructions at the first place, look in a second. Also, not all brands of wires have the same measurements for the same size. I know, fun. I am not willing to pay for overseas postage, you can probably find a vendor in your country to help with that expense.  The cloth habit blog  has an excellent post breaking down some sources by world wide location. She should get a prize for that post! 

So, without further ado, some things I’m discovering as I sew my first Maya:


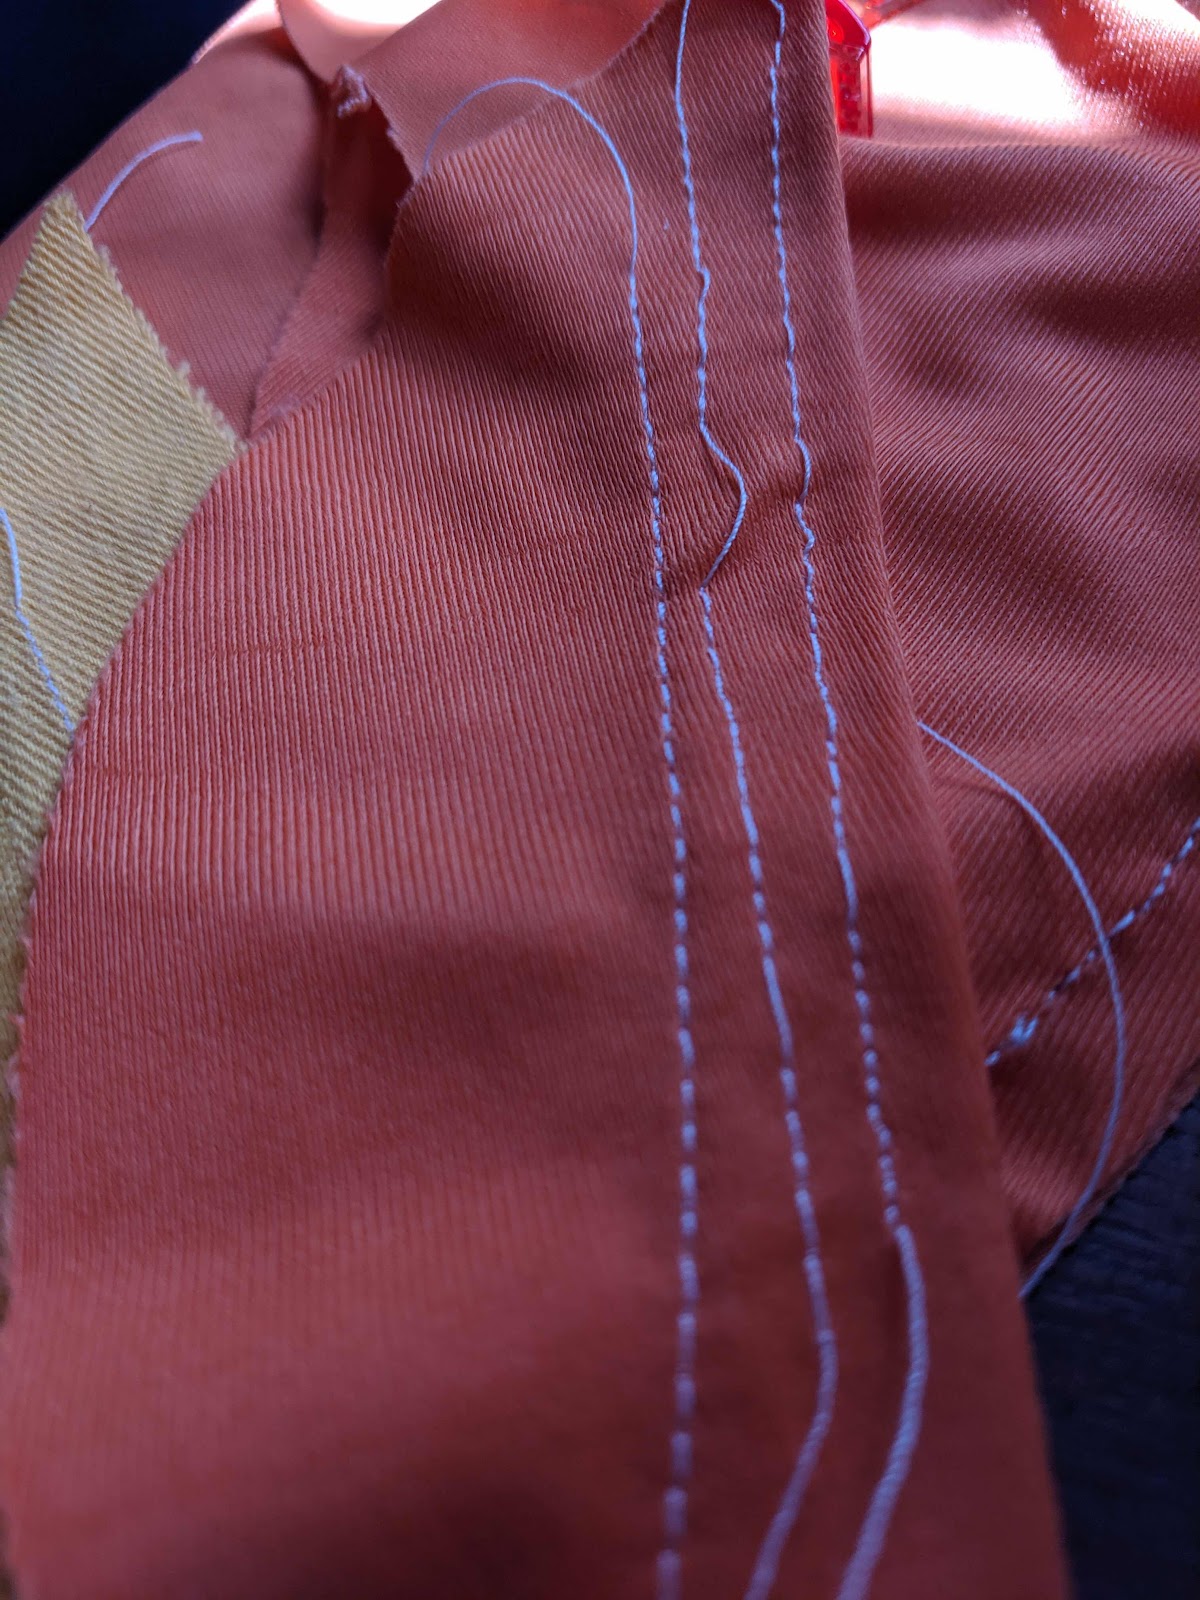
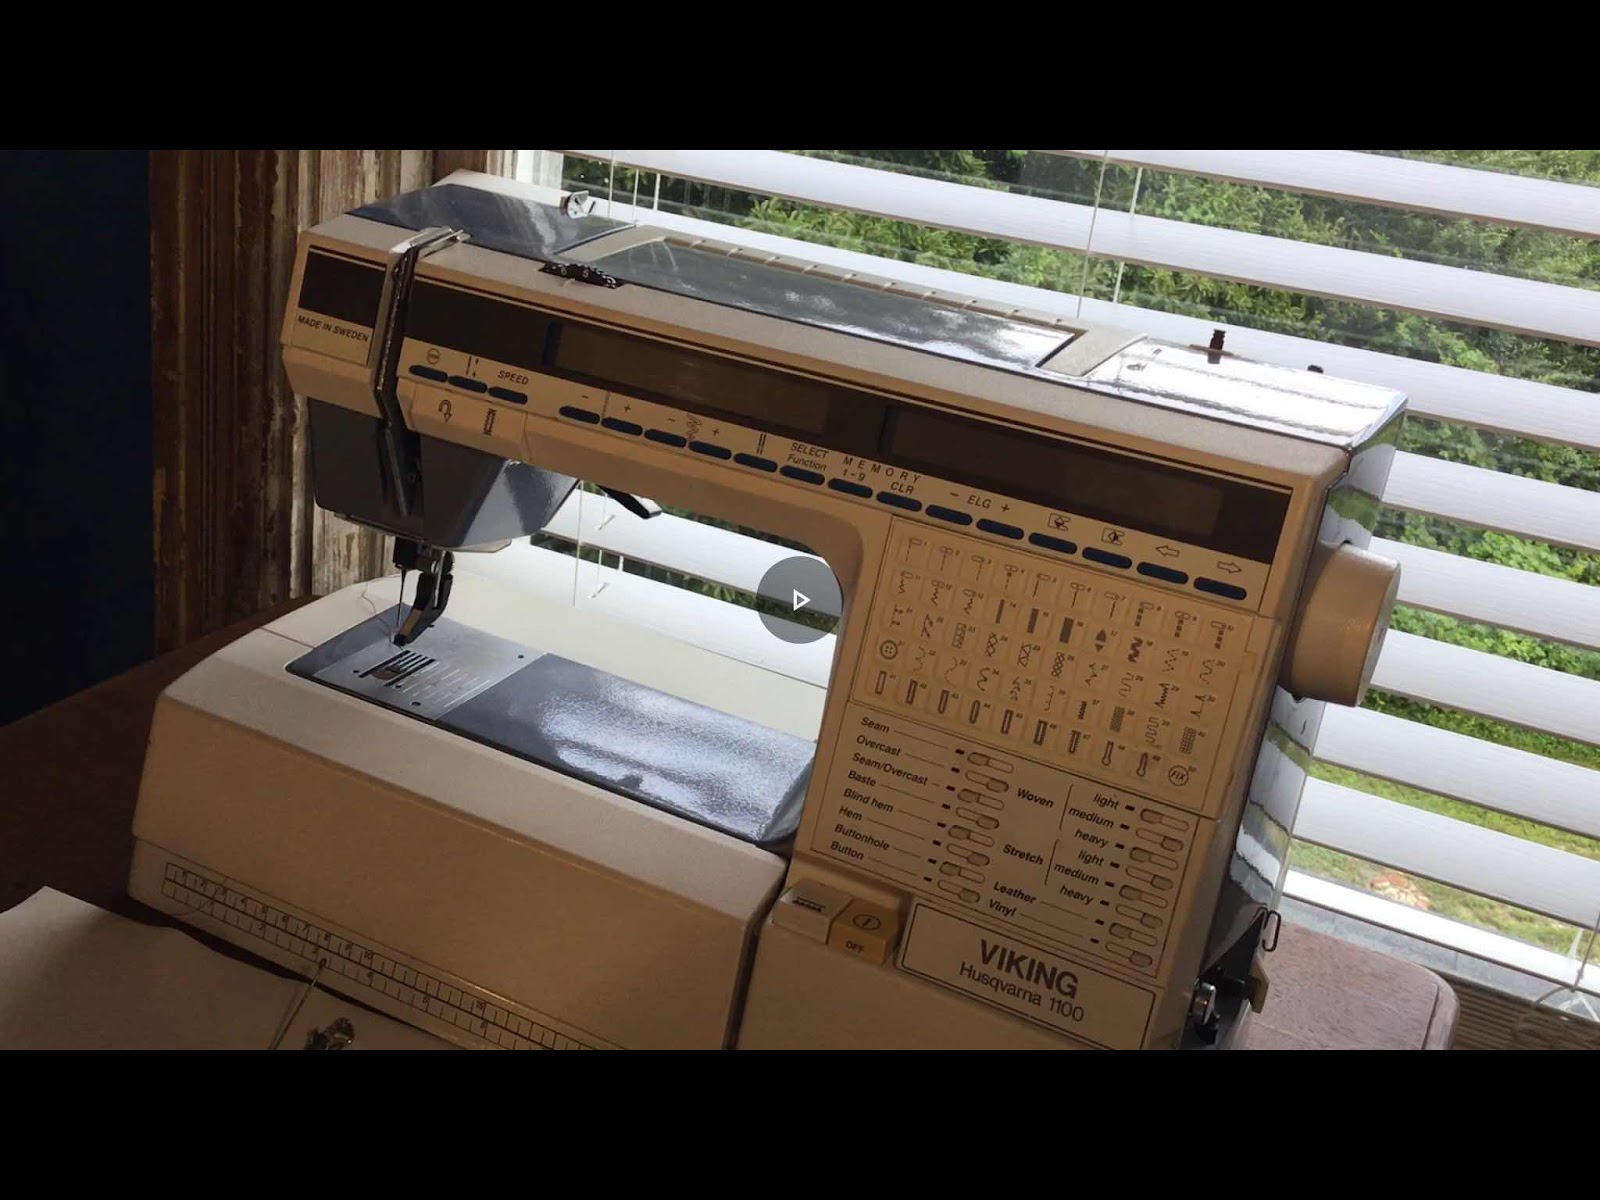
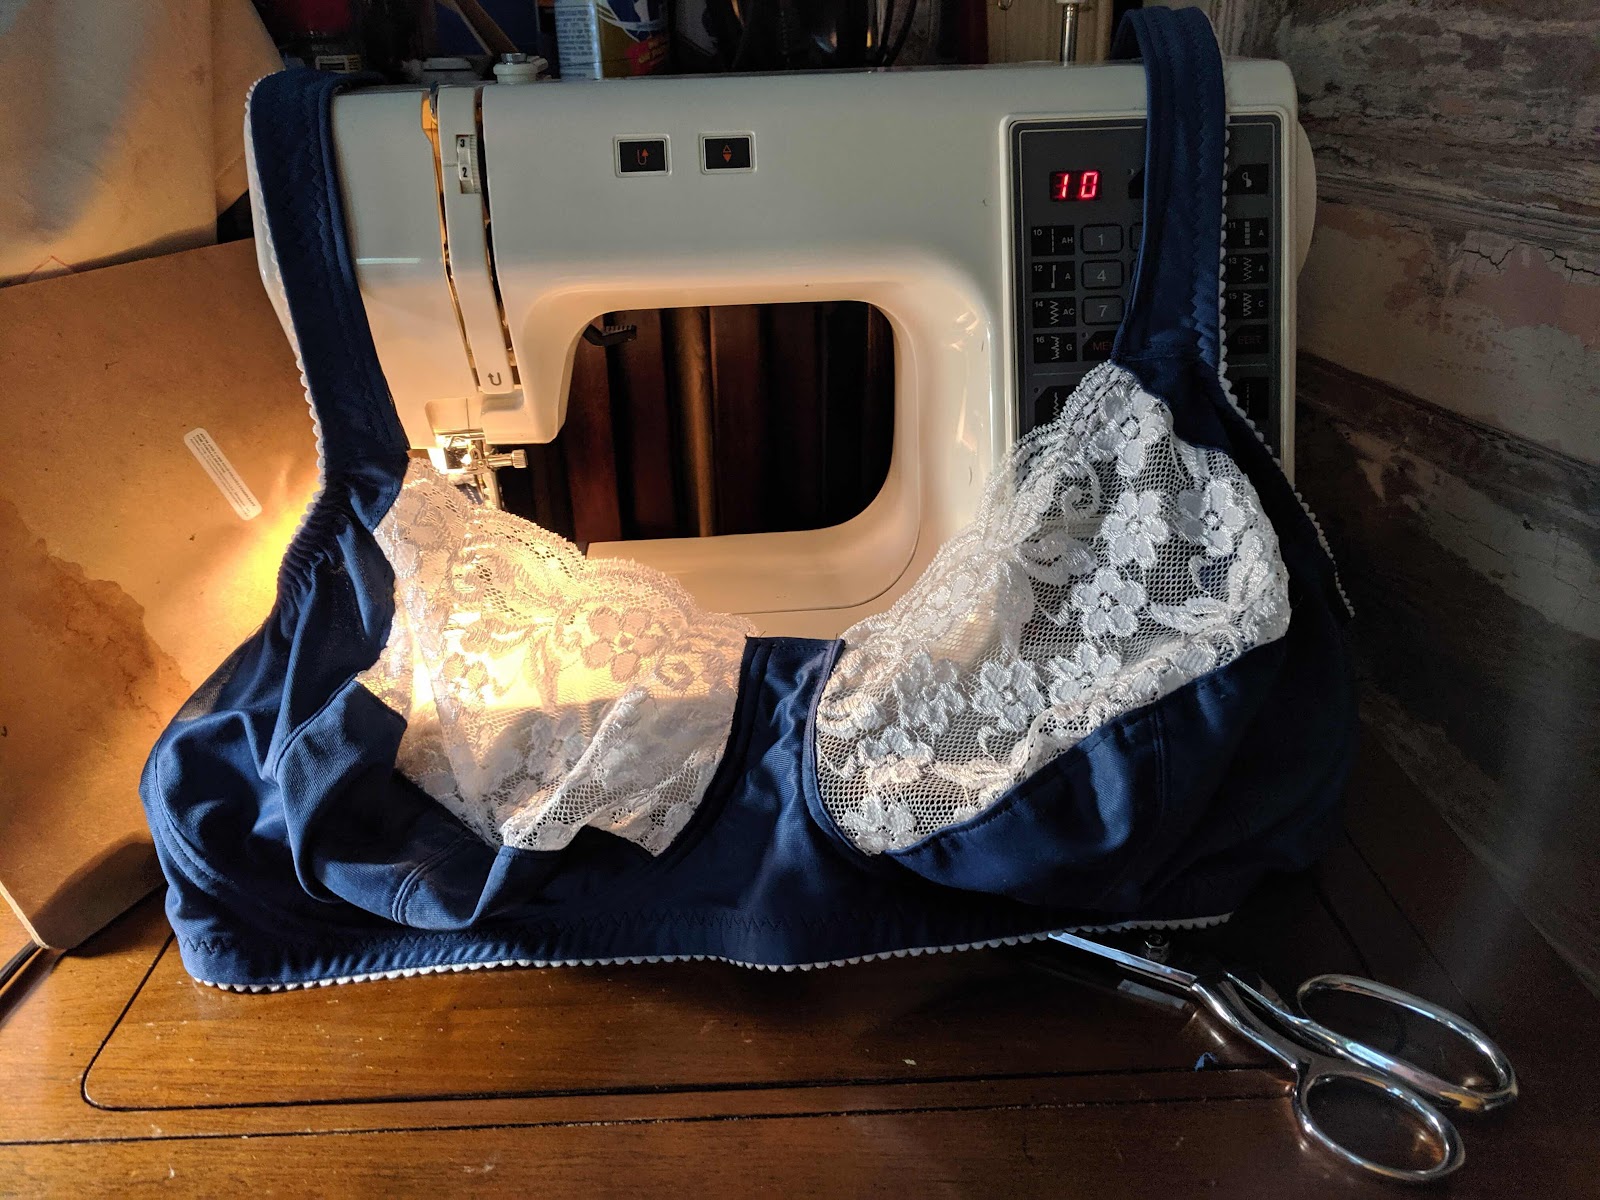
Don’t skip stitch testing on duoplex! It would be pointless to show you my first 15 minutes of testing needles that wouldn’t put a single rotten stitch in! With my previous bra, the Kenmore demanded a Microtex 70 needle. The Viking said, No, Ma’am! I swung over to the Kenmore and she blushed and giggled like she’d never heard of duoplex. I went through many hoops to get these final acceptable stitches, with a universal 80/12 needle, of all the choices. After we settled that, hardly a hiccup except for wanting to suck down fabric through the bobbin hole at the start of each seam. Hold onto those thread tales and start slow.


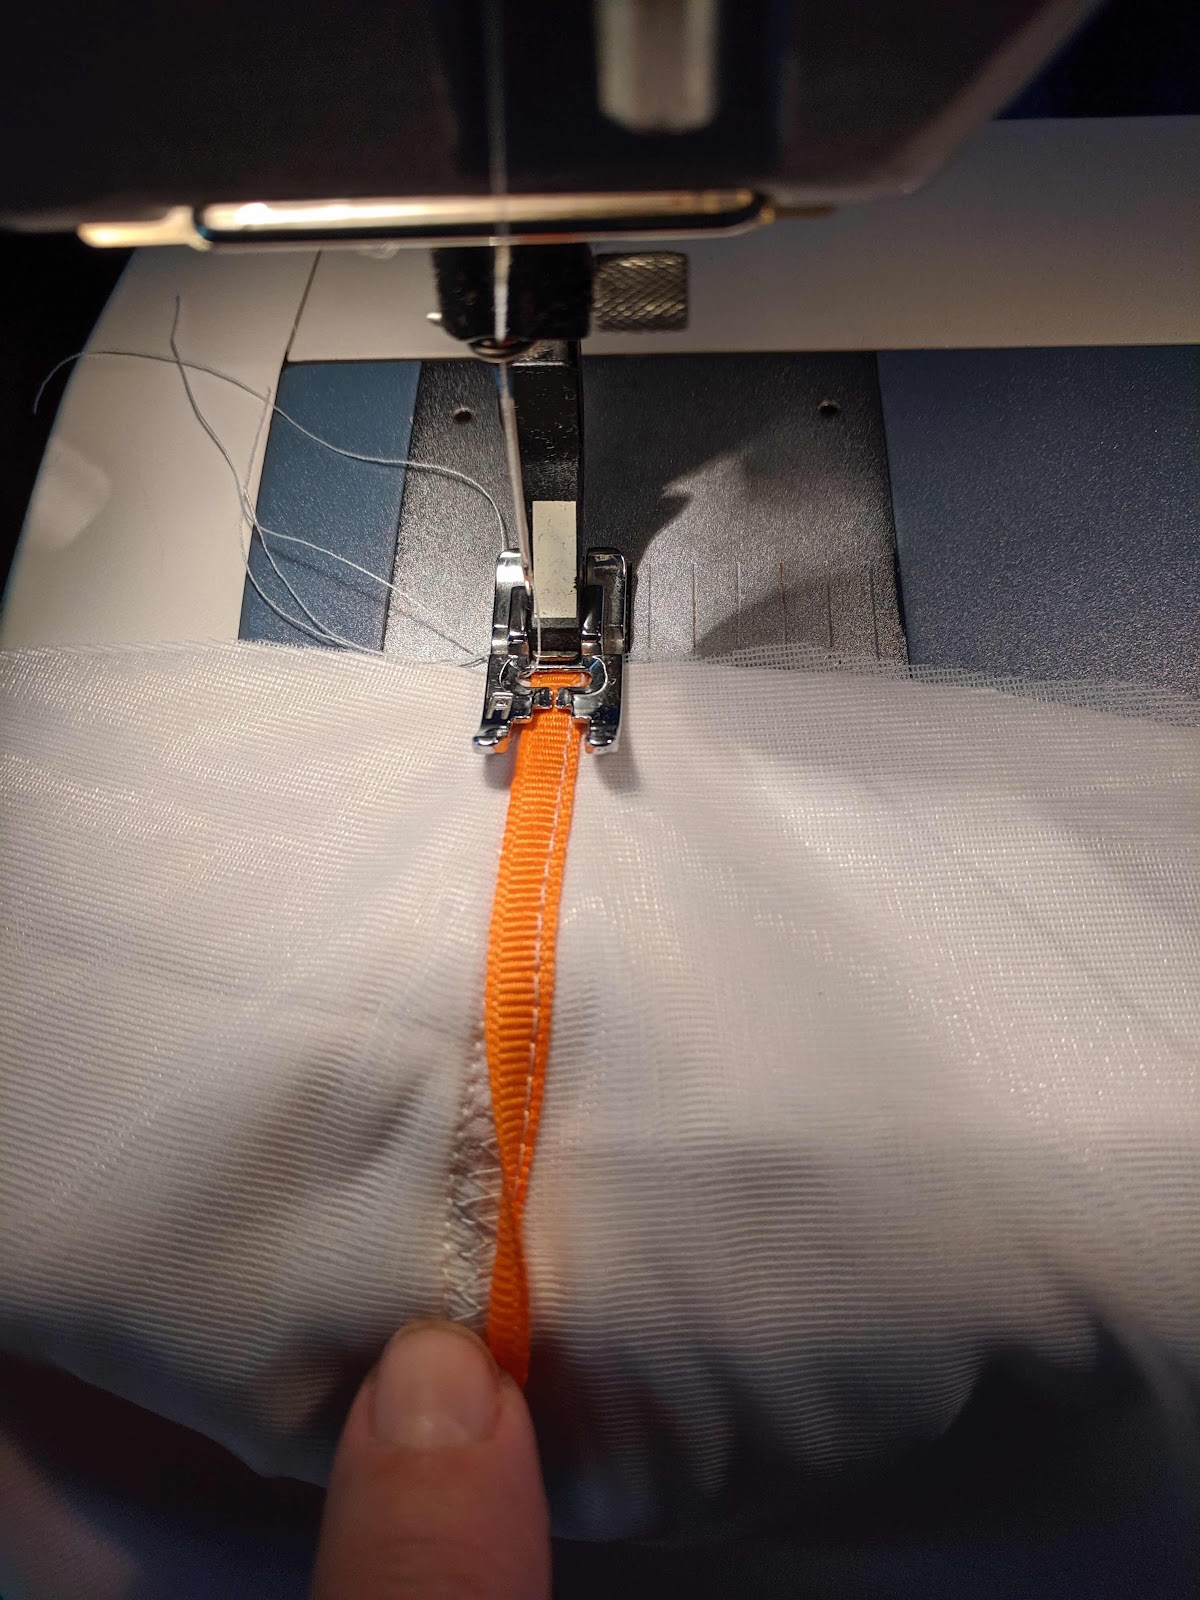
While the ribbon covering inside seams is very decorative, I could have skipped some bulk and potential scratch factor by sewing my lining like the outside, then sandwiching the foam between lining and fashion fabric. I had cut the lining with the pattern pieces called “lining”, which already had seam allowances trimmed. So it had to be tacked to the foam and sewn by zig zagging over the butted pieces. Therefore, I’m renaming the lining pattern pieces  “foam” and using the same pattern pieces for fashion fabric and lining next time.

L

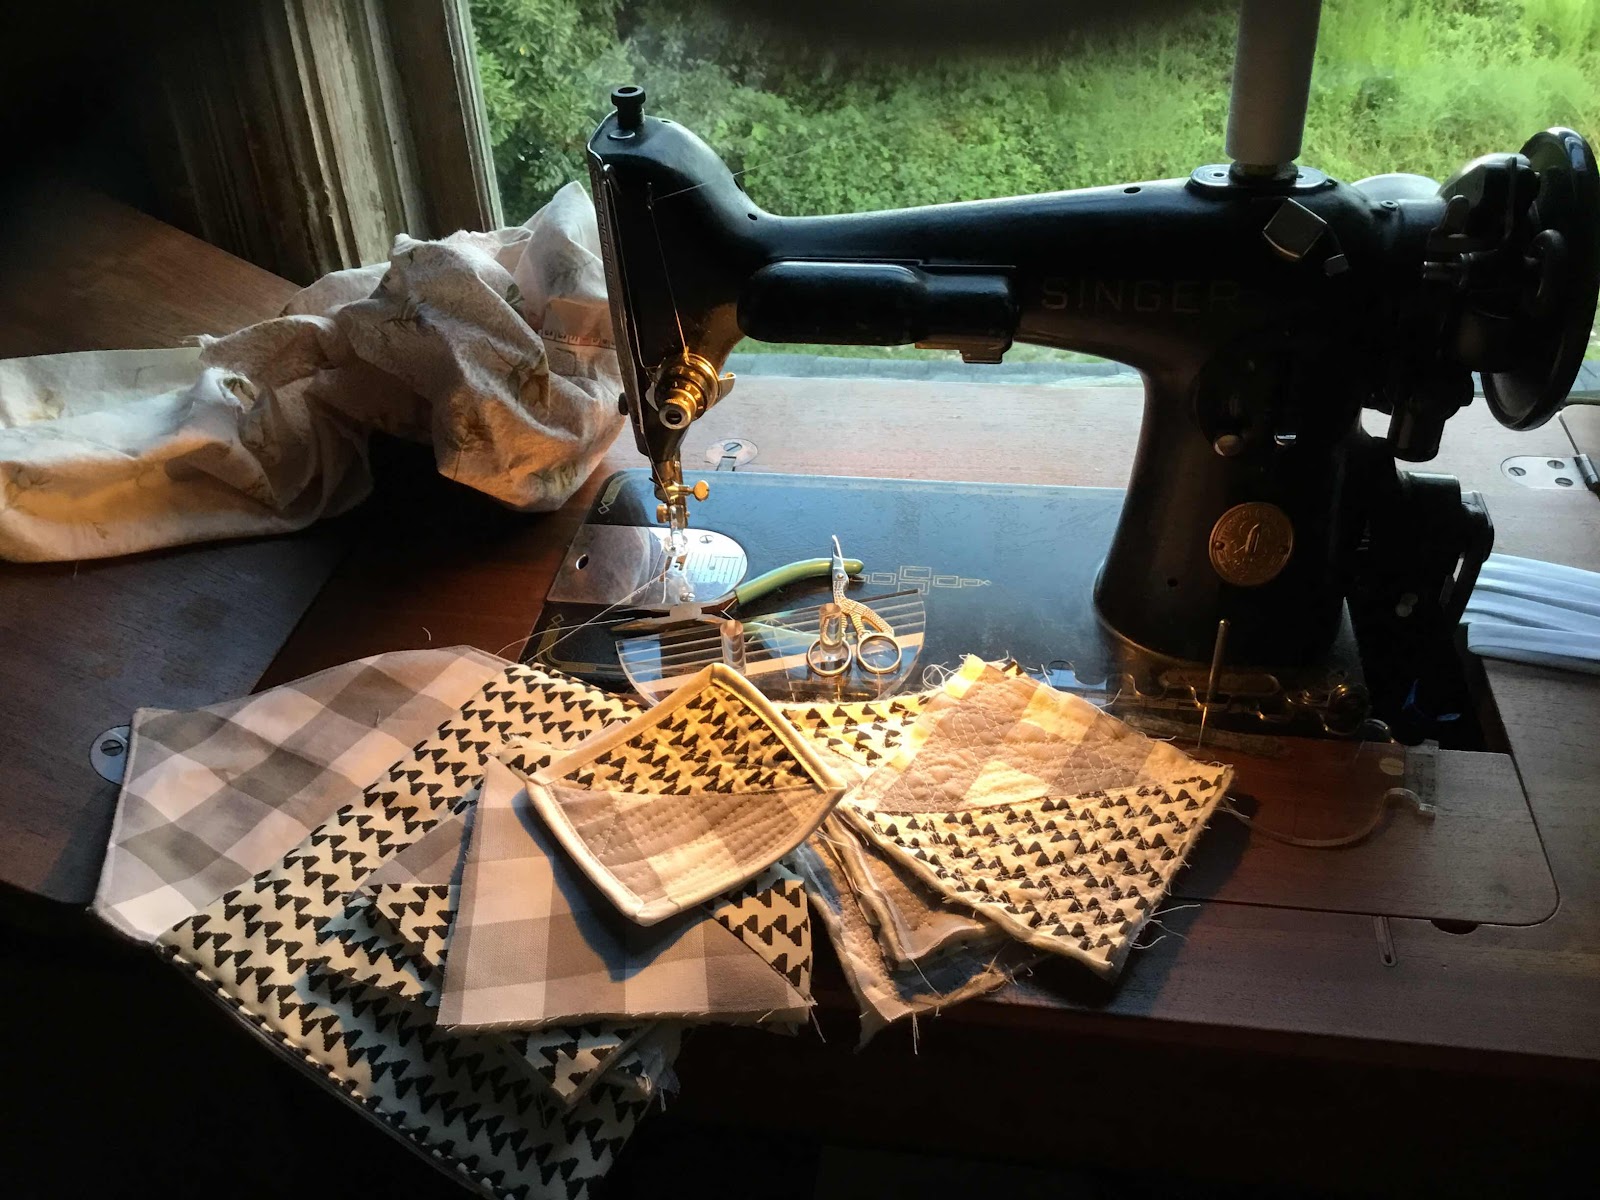
There was an awful lot of this going on. She warns you to not mix up which piece goes where! I cannot leave sewing out in a nicely arranged setting though. There is a small child in my life and stuff that I don’t want to share HAS to be put up. My solution for this will be to add some markings. I need to be sure which is top, bottom, right side, wrong side. I decided to leave a cup with one piece showing the “wrong” side. I’m not sure that I didn’t cut two pieces alike rather than opposite for a left and a right. I can’t blame that on the Maya.


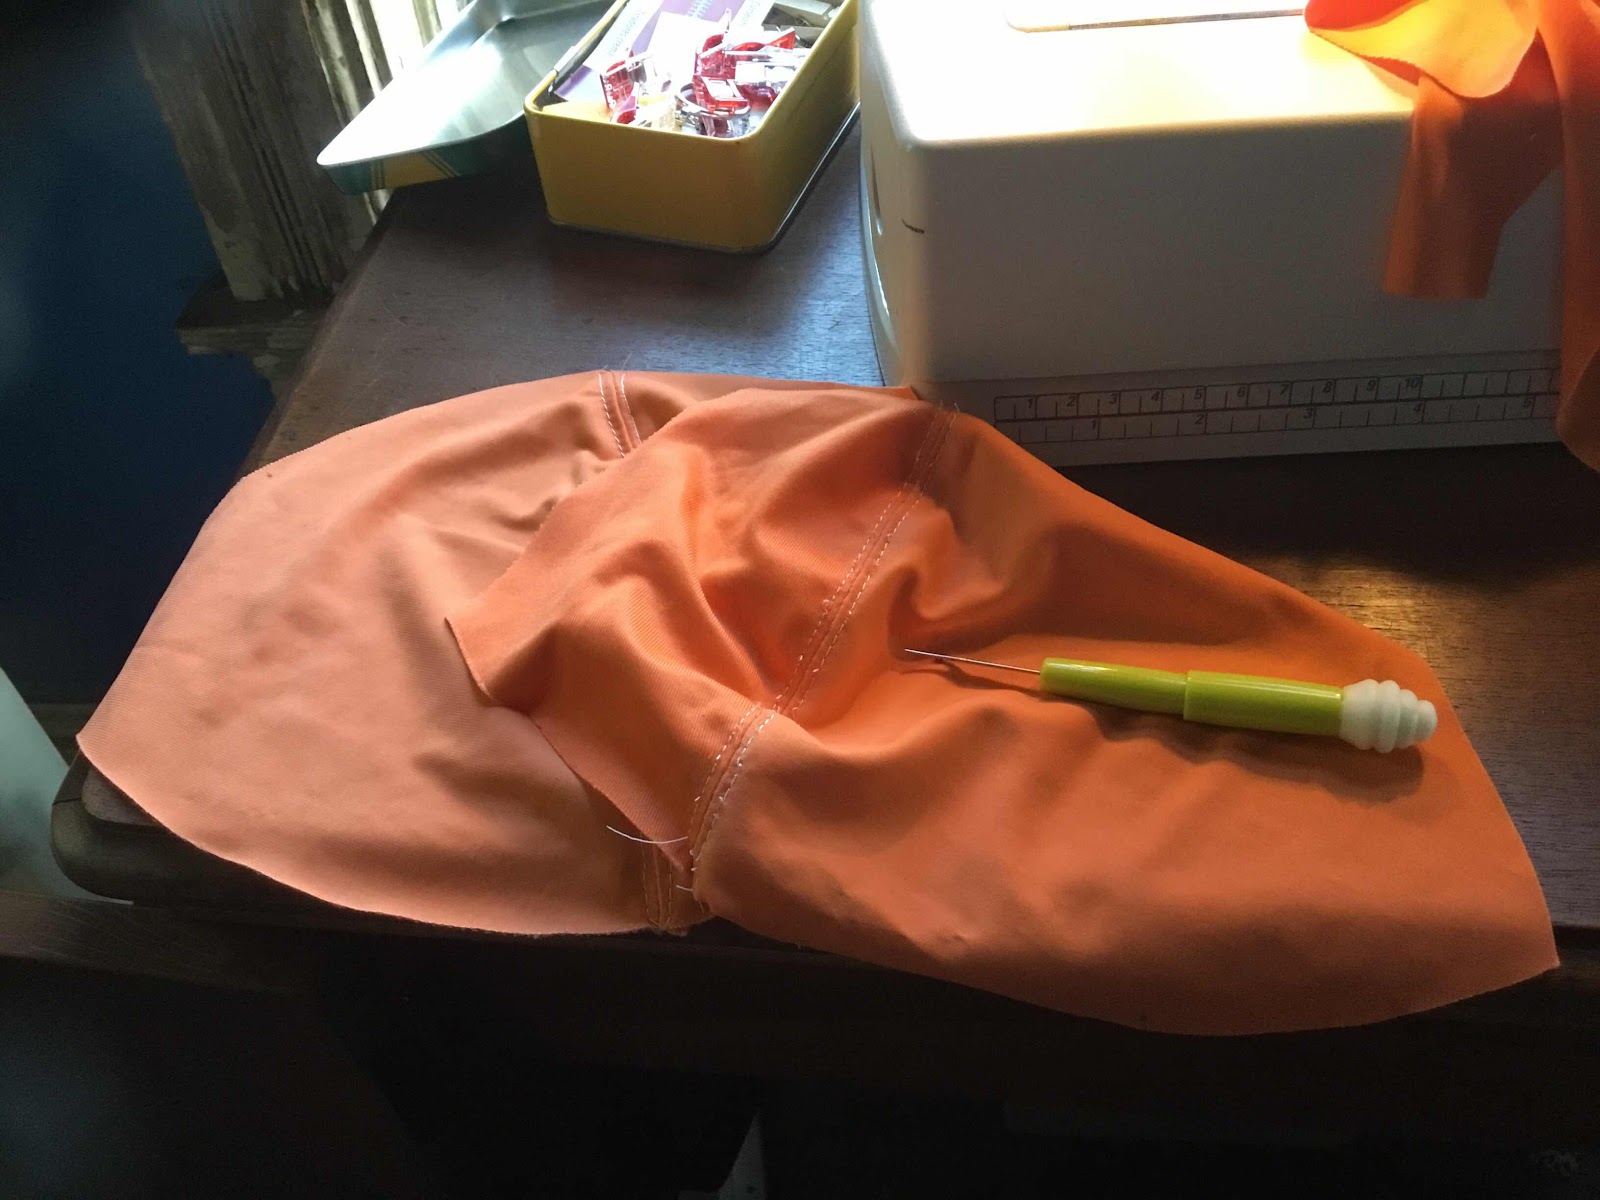
So much of this going on. Good thing they are all short seams. Good thing duoplex is such hardy fabric.


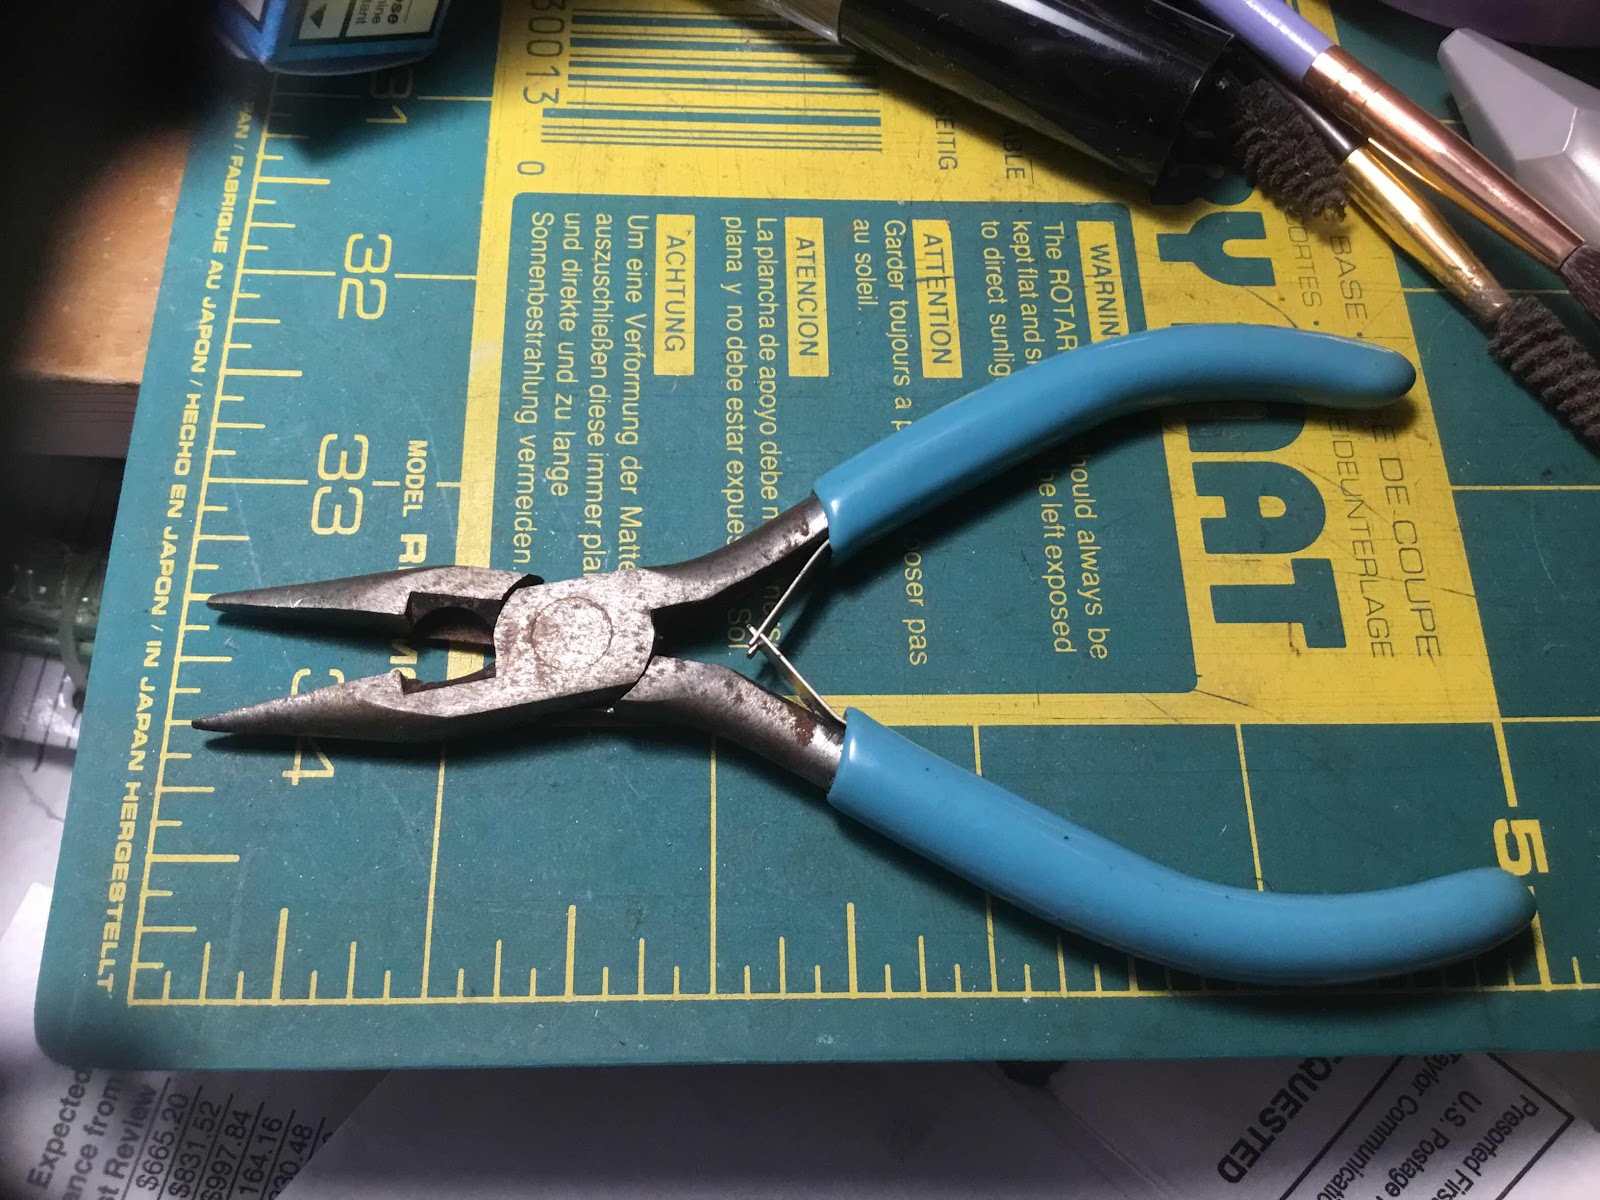
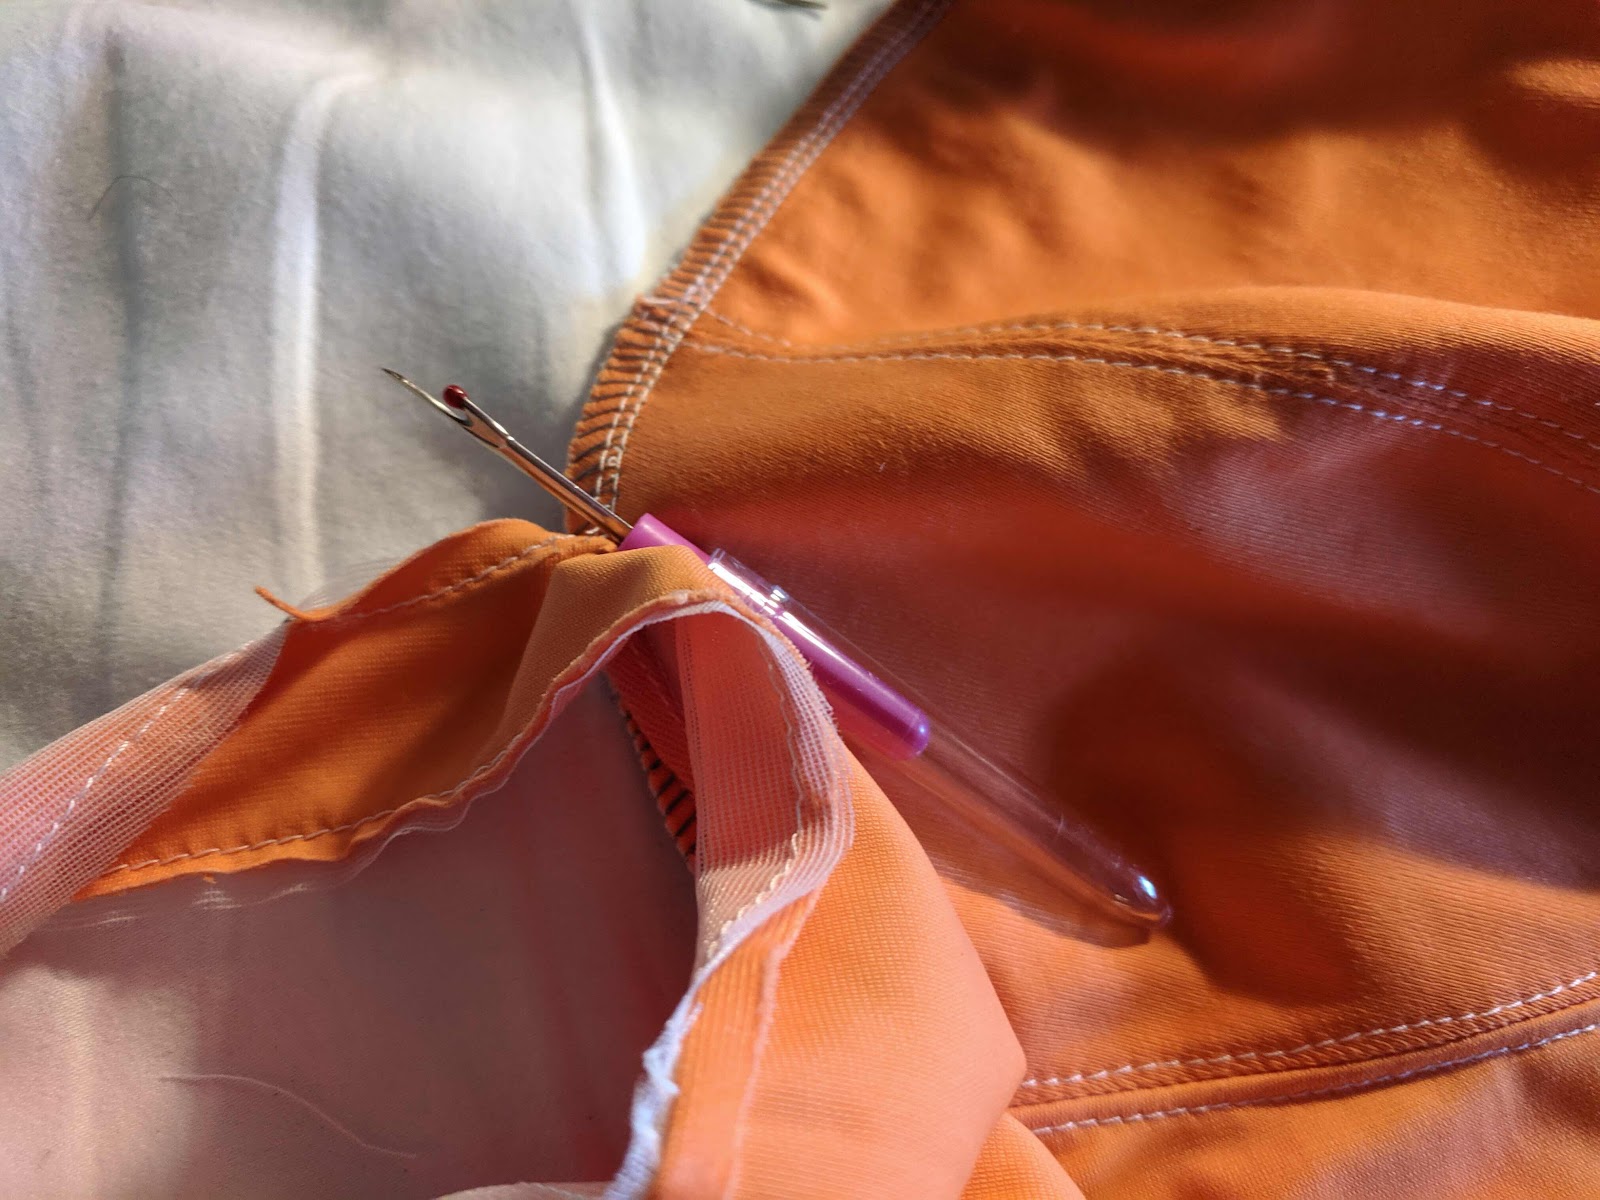
These little needle nose pliers reclaimed from my old jewelry making phase are wonderful! Not only are they essential for pulling out tight threads that tire seam ripping hands, they are a relief from the repetitive tiny pinching movements too. Also good for pulling and pushing hand needles through multiple layers when basting.


Toward the end of the project I found a supply of Gutermann Mara thread that I had specifically purchased for the duoplex. Well, I know where it’s at now. It may help with consistently nice stitches. There is an assortment of colors, including white, which I think I prefer over this blend in orange. At the end, the bra was not well enough fitted to wear and I’ve already torn it most the way apart. I can reuse the straps, fasteners, rings and slides. I can use the power mesh and elastics for fitting muslins in other bras, not in a new bra. I have enough fabric to start this over again in orange, this time with white elastics and straps. I have high hopes this one will fit well and be a keeper, then if I like it I’ll do one more, different fabric, for a video. Hoping to build some speed too, I have other things I’d like to make!


Thursday, August 22, 2019

New program, old blog

I quit blogging because I was using an IPad on night shift and blogging was really really hard on it. My lap top had several issues with the keyboard and writing there was pretty crazy too. I wasn’t about to try it on the phone. So I finally found this program and paid $5 I think for a program called BlogTouch. It looks like it will work well.

So, what’s new. I got a new vintage machine, a 1987 or 1989 Viking Husqvarna 1100. A friend decided I was the person it belonged with so I agreed to buy it and she agreed to ship it. It is an electronic machine with different “cassettes” that give a variety of stitches, buttonholes, and embroidery options. Currently I only have cassette A, but it’s the one I really need. When I first tried her out she made a funny noise and blew out a puff of white smoke. Power was still on so I turned it off. My closest dealer said they won’t touch them because they can’t get replacement parts. I decided to cautiously try turning it back on and have since used it for a couple hours with no further issues and finding no deficits. I made a little video of working with a darning foot and free motion ruler. I also tested her out on some knit fabrics. This machine is the best I’ve ever used for knits. Here’s a link to the video. 


I made a bra :)


This is a Shelly from Pin Up Girls patterns. Beverly Johnson drafts the patterns and has classes on Blueprint. Additionally there’s help from two Facebook groups. As a 50 DD, I haven’t had a comfortable bra in a good decade. This one feels pretty good. It needs just a little more tweaking, and I’ll never put that much lace on my skin without a lining again, but, the band and cups fit! So of course I now have enough fabrics and laces for about 50 bras and have yet to cut out a second one.


Mostly these people’s fault.

I got a pair of Style Arc shorts and a Style Arc top done, but no photos. I don’t understand how the top came out too big, but elastic was effective for a save. Still working on a good woven bodice fit, I’m getting there. Seems that I need darts dropped as well as an FBA or Nancy Zieman’s pin and pivot method. Now I’m wondering if I do those two adjustments, should I be in a smaller pattern to fit the neck and shoulders? That could be the big solution!

I jumped off the top to Rebecca Page’s Bondi Bikini. Of course, I know it’s not going to look on me the same that it does on the model above. I’ve never found one piece suits comfortable as a lot of my height is in my torso, now I’ve got girth too and I insist on a two piece. There are instructions for a full bust adjustment for the top (why does the 5x require that? Shouldn’t that already be adjusted for large breasts?). There are no instructions for adjusting the lining of the top, which is cut very much like a princess seam and not like the top proper. I figure I’ll adjust with princess seam instructions but I haven’t cut it out yet. I started with bottoms and have them about half way, but that’s when the new machine arrived and I got a little derailed. Today I was feeling like I really should try and finish those bottoms but decided on a palate cleanser instead.


So I’m the proud owner of a potato zapper microwave bag and some coasters. Quick and easy.