Showing posts with label machines. Show all posts

Thursday, August 22, 2019

New program, old blog

I quit blogging because I was using an IPad on night shift and blogging was really really hard on it. My lap top had several issues with the keyboard and writing there was pretty crazy too. I wasn’t about to try it on the phone. So I finally found this program and paid $5 I think for a program called BlogTouch. It looks like it will work well.

So, what’s new. I got a new vintage machine, a 1987 or 1989 Viking Husqvarna 1100. A friend decided I was the person it belonged with so I agreed to buy it and she agreed to ship it. It is an electronic machine with different “cassettes” that give a variety of stitches, buttonholes, and embroidery options. Currently I only have cassette A, but it’s the one I really need. When I first tried her out she made a funny noise and blew out a puff of white smoke. Power was still on so I turned it off. My closest dealer said they won’t touch them because they can’t get replacement parts. I decided to cautiously try turning it back on and have since used it for a couple hours with no further issues and finding no deficits. I made a little video of working with a darning foot and free motion ruler. I also tested her out on some knit fabrics. This machine is the best I’ve ever used for knits. Here’s a link to the video. 


I made a bra :)


This is a Shelly from Pin Up Girls patterns. Beverly Johnson drafts the patterns and has classes on Blueprint. Additionally there’s help from two Facebook groups. As a 50 DD, I haven’t had a comfortable bra in a good decade. This one feels pretty good. It needs just a little more tweaking, and I’ll never put that much lace on my skin without a lining again, but, the band and cups fit! So of course I now have enough fabrics and laces for about 50 bras and have yet to cut out a second one.


Mostly these people’s fault.

I got a pair of Style Arc shorts and a Style Arc top done, but no photos. I don’t understand how the top came out too big, but elastic was effective for a save. Still working on a good woven bodice fit, I’m getting there. Seems that I need darts dropped as well as an FBA or Nancy Zieman’s pin and pivot method. Now I’m wondering if I do those two adjustments, should I be in a smaller pattern to fit the neck and shoulders? That could be the big solution!

I jumped off the top to Rebecca Page’s Bondi Bikini. Of course, I know it’s not going to look on me the same that it does on the model above. I’ve never found one piece suits comfortable as a lot of my height is in my torso, now I’ve got girth too and I insist on a two piece. There are instructions for a full bust adjustment for the top (why does the 5x require that? Shouldn’t that already be adjusted for large breasts?). There are no instructions for adjusting the lining of the top, which is cut very much like a princess seam and not like the top proper. I figure I’ll adjust with princess seam instructions but I haven’t cut it out yet. I started with bottoms and have them about half way, but that’s when the new machine arrived and I got a little derailed. Today I was feeling like I really should try and finish those bottoms but decided on a palate cleanser instead.


So I’m the proud owner of a potato zapper microwave bag and some coasters. Quick and easy.


Sunday, July 15, 2018

Summer vacation and sewing and machine nostalgia


For my first real vacation in probably 4 years, I visited my son and his little family in Portland, Maine.  It's a coastal town and their beaches look like this.


Incredibly clear ocean water, of  course, COLD!!  I waded some, but couldn't talk myself into a swim.  I was very willing to eat fresh caught lobster and oysters from here though.


I took a ferry ride and darn near froze to death.  I am so grateful I decided to put on pants and carry this light hoodie. I had been thinking shorts and tank as I'm pretty much always warm. But the wind off the North Atlantic is no joke.


I brought a fully serviced and completely accessorized Singer Rocketeer with me, along with a couple sewing projects in hopes that maybe I could get some sewing done.  I did not make it very far.  We kept too busy playing tourist.  However, I left the machine, a travel ironing board and an iron, and thread, scissors, seam ripper, needles, oil, etc. for my son.  He has expressed an interest from time to time and I bet winters there would be a great time to hunker down with a Singer and an iron.

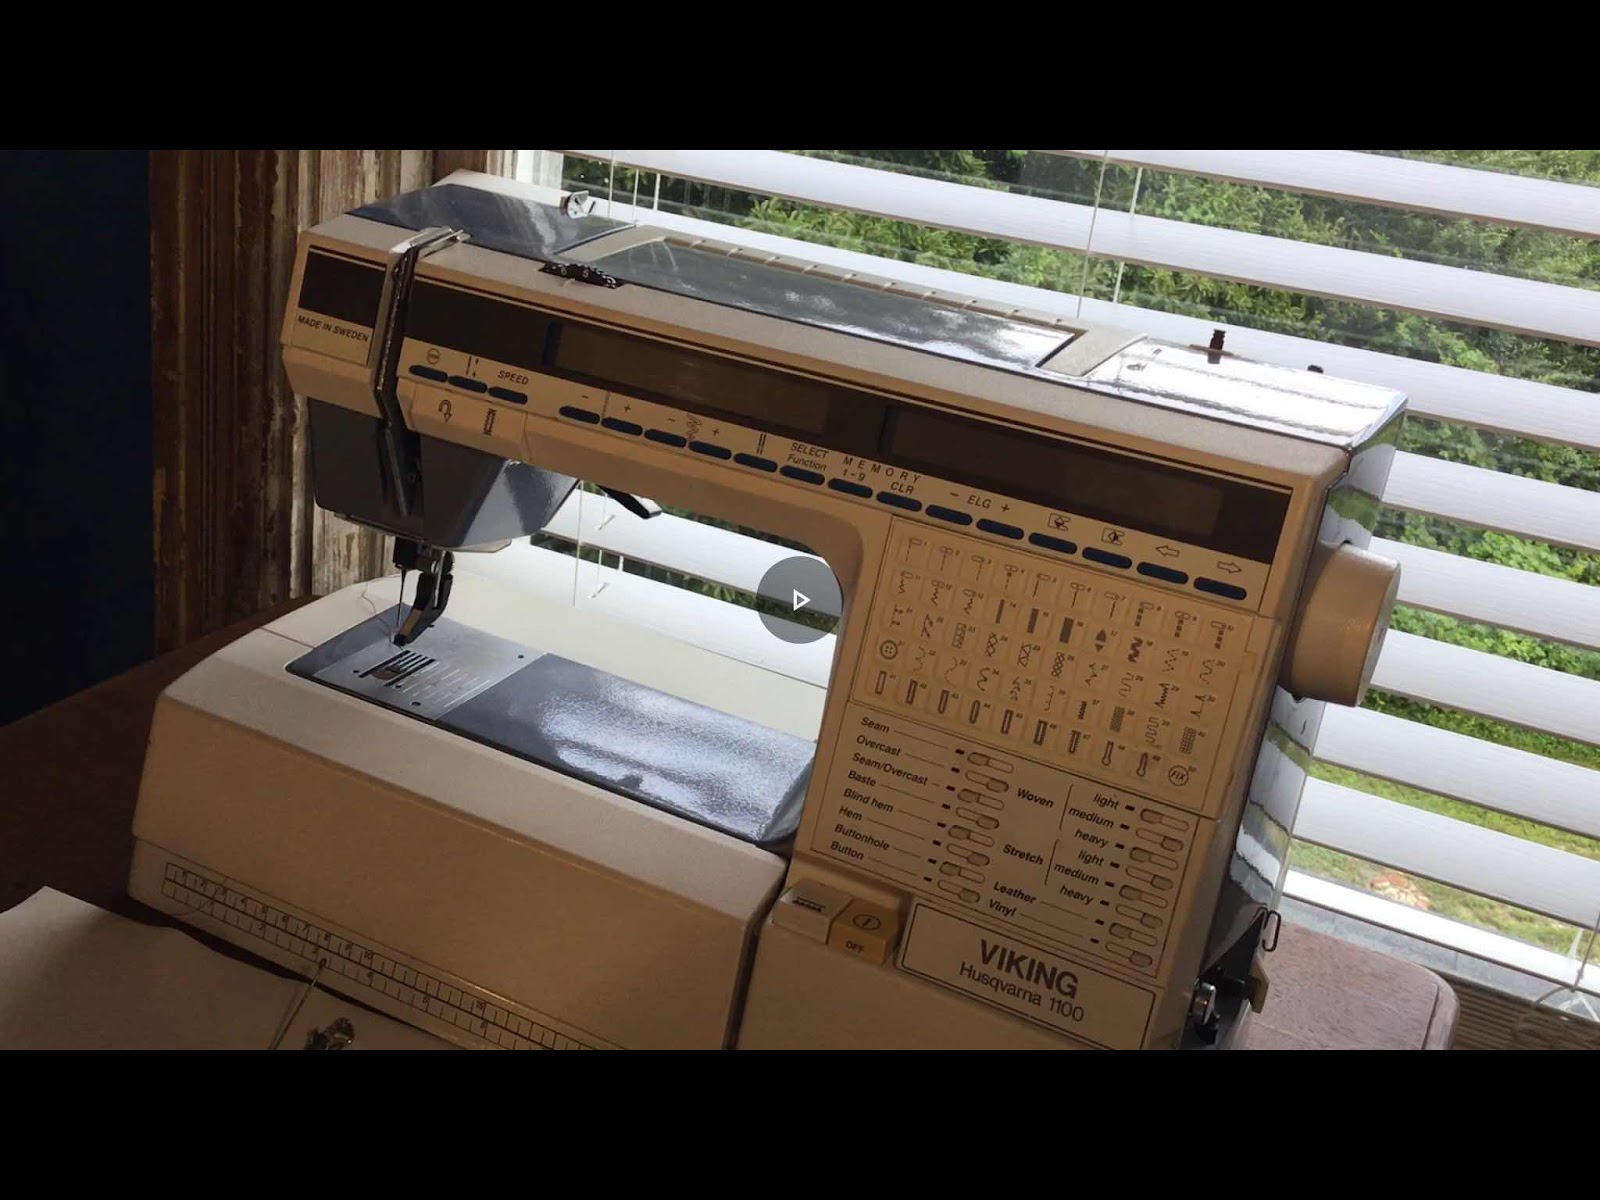
What happens when a vintage machine addict gives away a machine?  Two more come, that's what.  I aquired another 201-2 in need of some TLC and a few parts, annnnnnnnnnnnnd! Not what is generally thought of as vintage, but more than 20 years old. A replacement model for the Kenmore that took me all the way through my child raising days! I burned it up doing unauthorized maintenance on it years ago.  They put in trip wires to fry the mother board if you take out certain screws, the bastards.  Replacing the board was cost prohibitive, and buying a comparable new machine was also cost prohibitive.  That's when I started on my vintage machine journey, and I still love my older machines.  But I'm so thrilled to have this one back as well.  Turning it on it gives a quirky little sound that just warms my heart.  The stitches are gorgeous, and it is even quieter than my 201.


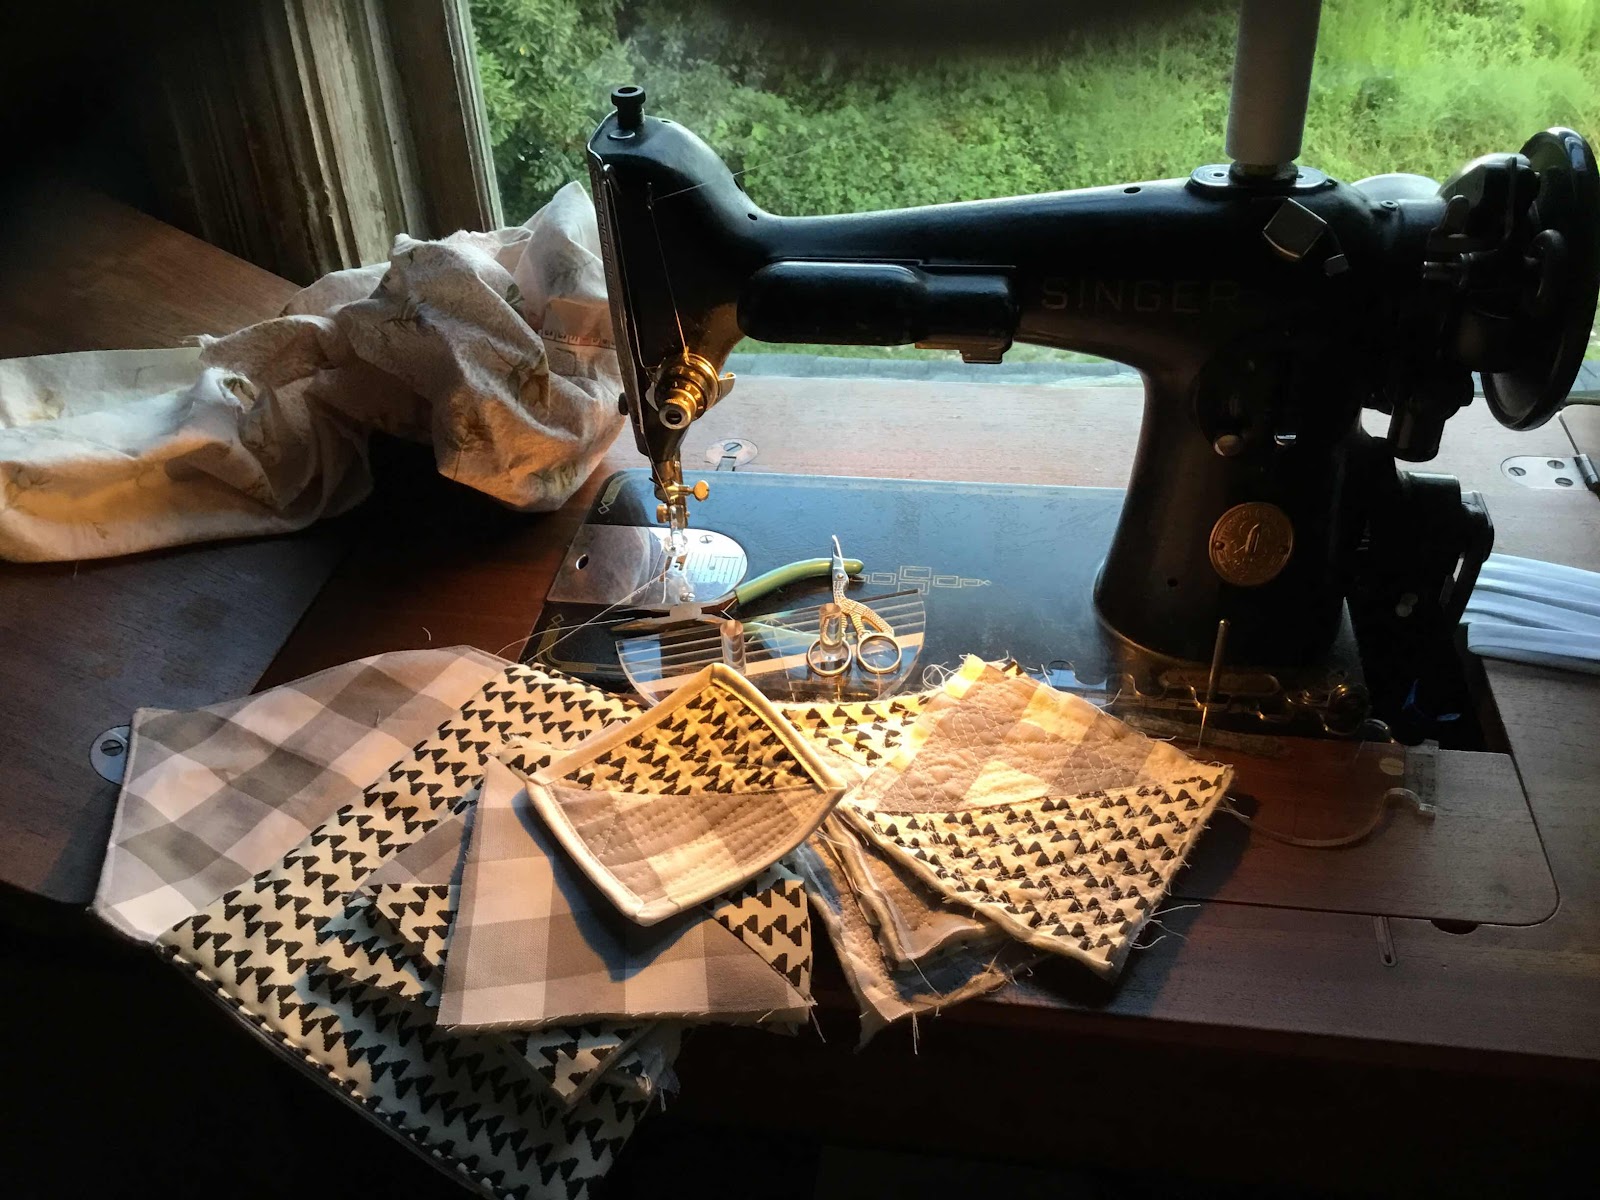
Crazy though, the first project I decided to start after bringing this home was certainly able to be done on the Kenmore, but was definitely stressing it a little bit.  I immediately switched back to the 
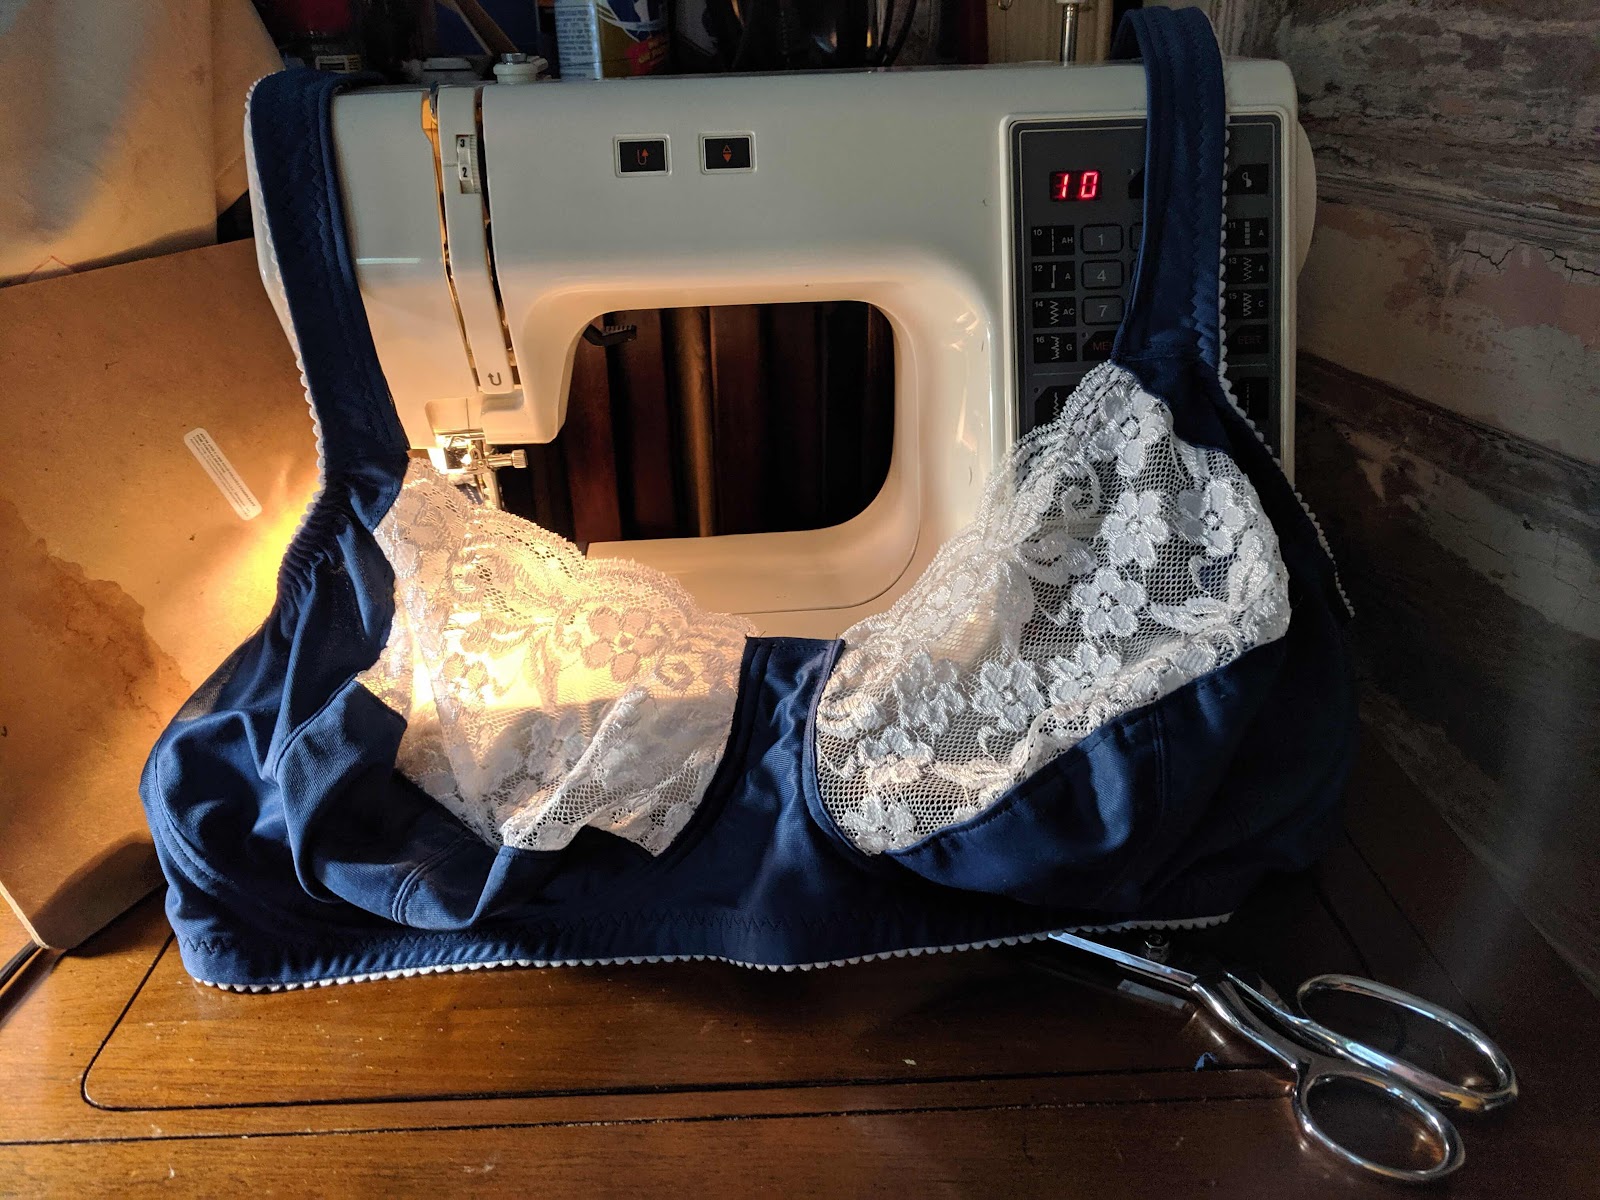
singer 401A (the rocketeer's older sibling).  This machine has a presser foot that you can fit SIX US quarters underneath.  I'm not sure exactly how high that is (update: a websearch says it's about 1/2 inch. Less than I thought). The old saying about those all metal beasts is that if you can fit it under the foot you can sew it.  So, this is cotton clothesline rope wrapped in quilting cotton being sewed into a coil to make a throw rug. You can make it as big as you desire, just keep the rope coming up on the right side and it only grows to the left of your machine head.


As for garments, I've made some progress.  Photos are so darn hard for me.  I think the biggest issue for me is seeing my weight and age in a photo.  I'm always a little shocked.  The weight has hit a point where I'm getting ready to seriously battle with it.  I've gained and lost before, but never have I been this heavy, or old and joint and pulmonary function compromised.  Still, I have improved my fitness before, and I have been a non smoker since last Oct 1 after 43 years of smoking.  I believe if I commit, I can lose quite a bit of my extra poundage. It would feel so much better to not carry it.  I would like my photos better.  Asking adult children to take the photos hasn't worked very well, so I'm now trying to take selfies, with a tripod and using the timer since my camera does not use a remote.  This will take some work to get better framed and focused shots.  I downloaded a new trial version of photoshop elements, but it is very clunky on the one computer that has a big enough screen to warrant using an editor.  Not worth buying for the performance I'll get out of it.  So, room for improvement in the photo department as well as the sewing/fitting.  I do prefer to spend time doing things I'm still learning fairly frequently.  Here goes:


 Style Arc Rowes Tunic. I sewed my size without any changes to the pattern and I'm pretty satisfied with the fit.  I cut it dress length, thinking I'd probably sleep in it more than wear it in public. It's a little too short to be a dress, yet a little long as a shirt.  But, OK.  I've actually worn it in public a few times, which makes me happy.
 I debated an FBA, but think it did pretty well without.  Now I have a pattern that I can use as a gauge for knit tops.

I am not in love with the contrast yoke, but it is an improvement on the self fabric that I cut without respecting the fabric pattern. If I made this again, I think I would choose solids with some color variation at the yoke, neck, and arm trims.  I'd hem it somewhere between the shirt and dress choice.


This is 100% linen from Fabricmart I believe, at an obscenely low price last year or the year before.  Maybe other people don't like huge blue flowers, but it really appeals to me.  There's some scraps of it in that rug I'm making above.  The pattern is a little variation of the Purl Soho Anywhere Tunic, a very nice free pattern available at the link.  Of course I had to supersize it, and then I lengthened the hell out of it.  The head and arm openings are folded over twice and then stitched down.  The seams that start where the openings end are stitched and then the allowances continue the twice folded and top stitched down treatment.  I added BIG patch pockets. The side seams were serged wrong sides together, then french seamed for additional protection from fraying.  Simple double fold hem.  I used elastic with my drawstring ties that meet on the sides and don't have to bother with tying.  This dress was made for my summer days of too hot for sleeping in anything, and then I need to pop on something fast to get my grandson off the bus, answer the door, direct traffic for the odd carwreck outside my house (it's happened twice, not yet with the dress). This covers everything but doesn't cling, it's linen with pockets.  I could tolerate it for quite some time in the hot, hot, humid, humid heat. It's also good for sleeping in.


I took apart the project I took up to Maine, more linen.  They were coming together too large, so I wanted to take in seam allowances all the way back to the beginning, also allowing for all of them to be serged.  I have learned, as you can see, to pay attention to the freakin fabric pattern! I'm sure a better job could have been done on that side seam, but I can tolerate this and I'm fairly proud of that pocket placement.  These are taking longer in part because of the careful pressing I like to do with them.  When I have my window ac unit going, I put my ironing board in the hallway.  Generally, after I've finished sewing until I press, or finish pressing until I sew, I think of something else that needs to be done and put the project down.  These pants are more fitted with an invisible back zipper, a style I'm not at all familiar with wearing. I'm not sure if I would trust them in public with sitting and rising. If I try it, I'll bring safety pins.

I've sewn some shorts as well, just too boring to photograph.  Soon on my table I have a classic T from Love Notions I want to try.  Knits used to knock me down in my family sewing days.  I have a serger and a lot of places on the internet to get good sewing advise, so I'm hoping I'll be much more successful.

Sunday, October 4, 2015

A singer 201-2

is a fine machine however, $25,000.00 is a steep price to pay.  Craigslist in Delaware, keeps my herd from growing too quickly.  I'm hoping this price is a typo, but most machines offered there are overpriced, some figure out of a non-sewing (or dusting, never mind tuning up) owner's head.


WELL.  Getting that photo to upload just took about 3 hours over 2 nights.  Until I finally thought to switch from edge to chrome.  Then, pow, thank you again Google!  The block itself, a free 12 inch finished twinkling star was warned to be "a bit challenging" and it was, but I was fairly pleased with the results.  I took my time, which ended up being about a week, and didn't feel bad at all about it.  It's not at all approaching perfection, but it's pleasing and finished. Win Win.

I pieced the block, and have done some mending on my own ''rare and one of a kind" 201.  Mine was supposed to be $20, but the owner ended up just giving it to me.  I had to rewire before it would run, scary but fun and addictive.


Of course it is not treadled, even though it's perched precariously on a treadle cabinet.  I just liked this gifted cabinet so much that I decided to put it to use.  I guess the machine could just fall through to the floor at anytime, it is not screwed in and the top has some splitting wood. I've been using it there for at least a year now and it hasn't even looked like it wants to fall.  I don't want to modify this cabinet in case the right machine comes along for it that CAN be treadled.  The insert area is actually for a 3/4 machine, and not a Singer brand.  I figure that smaller hole is the reason the 201 hasn't landed it's 40 or whatever pounds on my happily sewing feet. I've always liked to live a little dangerously, and now that I'm an old lady night shift worker I have to skirt danger where I can.  

UPDATE 10/25/15  That 201 above is marked down!  To $40.00!  Quite a reduction, I must say.  If it were closer to me.....


Thursday, August 13, 2015

Check spring replacement for Kenmore 158.900

I couldn't find a tutorial to replace the check spring on my good ole Kenmore model 90.  I have the owner's manual but not a service manual.  I just parked the machine in the cabinet for about a year while I debated whether to buy the entire upper tension assembly or get the spring and try to fix that.  Neither choice is very expensive, so I finally got the spring shipped from an eBay seller for less than $6.00 and experimented successfully.


I took what for me was "lots of pictures' to help if  I needed a memory nudge or even to look for something I hadn't registered at all when I was in the reassembly phase.  I was more interested in getting the job done than photographing so this probably doesn't qualify as a real tutorial.  It could help nudge someone in the right direction though, and might give you an idea whether this is something you would want to attempt on your own (Hint: if you totally screw up, you can eBay purchase the entire assembly for about $15.00. Cheaper than a Craftsy class. Go for it).

Elizabeth at My Sewing Machine Obsession had a lovely tutorial on newer model 158's, which at least clued me in to find the hidden set screw that held the assembly on. On the model 90, I had to open the door, to find it here:

As you might guess, it's in the middle hole, about even with the tension assy, not the holes top or bottom that line up with thread guides.  Once you get that set screw loosened enough (and follow Elizabeth's advice, loosen don't remove to prevent loosing the bitty thing) the assembly just pulls/wiggles out.


Here's the whole assembly out.  I confess I had to take it at least this far before I could  buy a new one because the eBay guys had 2 types that looked similar except for the back posts.  This one, I see now, is a short post.  This is the point where you take note where things line up.  I could see the broke end of the spring poking out with a straight line from top set screw hole through the spring exit point to the arrow that indicates the tension setting in front. I could also see that to get to that spring I had to make that bottom part come off.


 Here it is at the next step.  I didn't take notes, but I believe this happened just with pulling apart. You  can see the slightly dusty tension discs that hold your thread there, good time to give them a thorough cleaning.  I can't get to the spring yet, more disassembly required.  This time, more tiny easily striped screws are involved.


In photo above I'm holding the back section that still holds the spring. One of the two screws is visible next to the diagonal mark on the cutting board.  The two sections were held by those screws via holes indicated by vertical arrows.


If the spring doesn't pull out fairly easy, you may have to loosen the screws still in your last remaining piece.  I believe there were two of the large size indicated in pic above, and three more that are really really small. Something like 3 threads wrap around those almost flat babies.  Oh, and they are kind of soft and look like the little slot would love to rip up so it can't be used anymore.  Careful not to over tighten when putting back in, and it is nice if you have a screwdriver that actually fits them. Once the spring was out I simply did everything in reverse until it was reassembled.  I did wonder where to set the numbers in relation to the arrow for pushing back into the machine heat and at first had my lowest tension reading as kind of negative 5.  I took it back out and set the arrow on 0 for a happy ending.  Then I just checked tension by stitching and adjusted the bottom slightly.


A little cleaning and oiling for the heck of it.  I stopped to admire the features on this machine.


The machine is from the very early 60's and is all metal.  I don't really love the colors but I do dig the lines of it.  The bobbin winder is ole-timey but neatly tucked under the door by the hand wheel and works very nicely, thank you.


My granddaughter asked me if that widow was the miles counter.  It delighted me because this era did make machines that resembled cars.  It's actually to set zig zag width. She does take cams (which I don't have) for decorative stitches, but does a basic zig zag without having to open and install.  The round knob to the side of the zig zag width widow will decenter the needle to the left or right.  Yup, that feature is nothing new, something I took for granted with any zig zag, though I believe it's a feature 'basic' machines might not have now.


The feed dog up/down selector is very accessible, and the machine does beautiful free motion embroidery and quilting.  I admit I wouldn't want to wrestle with a large quilt in that small throat space, but it did some beautiful small pieces for me.  It has a remarkably un-fussy tension.  Matter of fact, it took light to mid-weight fabrics without issue even with the broken spring. I just thought the time would come when I'd need the check spring to do it's intended job with some slippery or speciao fabric or thread. The machine also has a presser foot pressure adjustment dial and I don't know what all other features that may impress, it was just a good solid machine.

Made in Japan. See the J-A4 stamped in there?  Japan rocked machine making for American names like Kenmore, Wards, etc for many years.

After cleaning, oiling, and fine tuning I did a quick little sewing project just to show her some love.

Grandbaby jammies, shocking choice I know.  I was very aware of how s-l-o-w this machine sews in comparison to my singer 201-2, and even the 401-A.  This was one of the reasons my (11 year old) granddaughter loved it though.  She feels more in control on it.  It's still strong as only machines from that era seem to be.  And the button- holer, sigh!  It makes the button holes of my dreams, really really nice and really easy.  It's almost worth keeping the machine on hand for those sweet buttonholes alone!  Though the one I have for the 201 is close competition.  


These beat out every other button hole system I ever had on (all newer, including top of the line computerized machine of the 90's) any other machine.  A joy for both ease and professional appearance.  I sewed my holes for more than 20 years without one of these, and can't stress how much I love these since discovery.  Why did manufacturers stop making these, when they work so darn well?????

All in all, a long post because I'm glad to have this one back in the herd!

Friday, November 7, 2014

Sewing plenty


At least, much more than my norm.  I got my pants sloper done.  That's it below the envelope, with painter's tape to white paper, spreading it out.  It actually needed much less adjustment than I thought.  After I had a significant crotch depth increase done, the rest of the proportions fit better than my measuring tape led me to believe,  I went ahead and used the sloper to modify my butterick jeans pattern and I wish I would have made a sloper back in 8th grade home ec.  That teacher just did not have aspirations for any of us that high.  We were an ill mannered rotten bunch, as I recall.


ANYWAY, other progress as promised are the machines I had sitting and waiting for rebirth.  Complete success with the 401a, so I rewarded myself by buying some new feet and thread spindles for her.  This is a slant shank machine, I can't use my low shanks that have worked well for all of my other Kenmore and Singer models.  I believe the presser foot height is still not correct.  I had to switch back to my Kenmore for sewing over thick seams on my jean shorts.  The older 306k though.....I had gone ahead and purchased a new bobbin case and the special needles it takes, all excited because I knew I was going to love this machine.  BUT, when I oiled her up and started wiggling her stuck stuff, snap!  The darn stitch regulator lever that controls stitch length and direction just snapped off.  Everything else is pretty groovy, I can see very beautiful fine stitches, I just can't have any other size or go backwards unless I get a new regulator, and get it correctly inserted up in there.


As far as quilting goes, the sampler is on a serious stall.  I hope I live long enough to see it done.  I totally gave up the mini quilt idea after sewing one eighth of the first mini block.  I have discovered the therapeutic claims of paper pieced hand sewn hexi blocks are true and I am amassing quite a pile.  I plan on using them to applique onto a duvet cover.  One scrap per flower, none used twice.  I may use up all those singles as the centers, or in another project entirely.

 
I did a quick muslin of the jean pattern just to check out the yoke and waistband part of the jean.  Satisfied, I pulled out my denim to find the stash I've had more than a decade was only a yard or so.  I decided making shorts would be good practice sewing with heavy fabrics and topstitching thread.  Turns out I needed the practice.  I also learned I need more than a 5/8 seam to do a better flat-fell seam too.  It just doesn't look right that narrow.  I've picked more seams out from these "practice shorts" than I probably ever have on any other project.  I guess I'd throw out anything that required that much work for real.  Also frustrating is trying to find the right denim.  I've purchased unsatisfactory stuff from Joann's and Mode.  I'm aware of Taylor's selvedge denim and I bought hardware and thread from him, but I don't want high priced narrow-width denim- it just feels a little pretentious and wasteful for where my jean sewing level is.  I do want old fashioned, stiff, heavy, thick, non stretchy dungaree style denim.  I think I've found a source in NYC after calling a manufacturer in TX and begging the lady who answered the phone for a lead on one of their customers that might sell yardage.  60" wide, 14 oz good stuff.  If it goes through, I'll post it when ever I can.  I'm seriously thinking of buying a damn roll and selling it myself!!!
 
 
It's almost jammie sewing time again.  I've been accumulating flannel.  I really hope I find some denim and sew my jeans before Christmas!


Sunday, June 1, 2014

sewing standstill

going on since I bought the lawn mower.  Go figure.  I've been puttering in the garden and trimming trees and bushes and mowing when I'm not asleep or taking care of grands and adult children.  I cast a doleful eye over to the sewing table from time to time, but I haven't managed to clean the entire room in a month, much less arrange my hair and put on lipstick to sew.  If you haven't read that advice from the 50's then you missed it, but I do need to feel like stuff is done before I enjoy sewing.

I DID, however. feed my sewing machine acquisition disorder with two new vintage machines this week.  Here they are in their dirt-encrusted non working glory:


This is a singer 306k, from the 50's.  So far I can barely get the wheel to turn with my hand and so can't see how it will stitch.  It takes special needles, and I broke the bobbin case.  The motor whines but doesn't move anything.  I'm thinking this was Singer's first zigzag.  I think it's kind of cute, but it's on the back burner after this one:
 
.


This is a Singer 401A, and it does straight stitch with a sluggish motor action (shovel out a few decades of dirt and lubricate well and it should be much more lively).  This was another of Singer top of the line machines and I've been reading lots of good things about it.  I've been wiggling and coaxing the zig zag function but it still hasn't come quite to life yet.  It also has quite a few decorative stitches built in.  Dual needle capable, meaning you can buy a double needle or just insert 2 regular needles into the holder and sew.  I don't think it will steal my heart completely from my 201-2, but I'm excited to see the old timey decorative stitches. 
 
 
As I'm writing I'm believing I'm working my last night shift before 3 nights off.  I won't look at my schedule until Monday afternoon to keep living the dream anyway.  I'm hoping to at least clean the 401 thoroughly and figure out if that will bring back the zig-zag or find if I have a broken spring or something in the head.  I don't have a slant shank foot, so I'll still have to order one before I can really sew.  All these parts are amazingly cheap and easy to find online.  And not to difficult to repair yourself!  These two make numbers 5 and 6 of machines I have acquired that didn't work, and I have successfully restored 4 to good working order.


Saturday, March 15, 2014

Momma said

there'd be days like this, the song says.  And it's been one of those days!  I jumped back on the Singer 128 and fiddled and fiddled and fiddled with that tension but just couldn't get it right.  I saw on someone's tutorial that the spring should be sticking out at about 930 position, but mine just would not bounce or spring that low, it wants to be at midnight.  It will not put correct tension on the top thread at midnight though.  Back at 930, and it lays like a dead fish, also not providing the correct tension.  I could see such promise of wonderful stitches from the backside of the fabric.  I kept running samples while adjusting the dial hopefully until I noticed sparking and smoking from the motor.  I put her Godzilla butt away for the evening, and turned to the quilt block I am working on.


Sometimes I dream that I did things I did not, but I'm pretty sure I blogged about these magic flying geese last night.  How I didn't really catch on how to square them up right until after messing up set one and maybe some of set two.  Putting one of set one and one of set two together was going to be a little tricky as you can see from the photo above.  I have been puzzling in my head how best to get these conflicting sized units to come together.  AHA!


Freezer paper templates, cut to the size of the finished unit!  I figured this way I wouldn't be guessing when to add or take away from the quarter inch allowance.


Then, inspired by SharonSchamber excellence and techniques, I pinned so that the two pieces met at the corners of the templates and used school glue to baste in place before stitching.


A teensy thin line of glue is recommended, and heat set it with an iron please.  Should I apologize for the blurry photo here?  Or the chipped polish on just the thumbnail?  I don't think so.  Plenty of blurry and chipped going on in my life- if it's not in yours feel free to feel smug here.  I don't mind, really!


I carefully stitch just outside the template, except that bulky point makes me swerve a little.  S'OK.


TA DA!  Open and pressed out and oh, my goodness.  The darn bases.  Will have the points cut off as soon as I attach them to anything. Also, the side unit is not the same size as the flying geese unit.  The whole funky thing is going in the shoe box of bastard quilt units, to be used as whatever until one day maybe I'll make some piece-y animal softies or something out of them.  Momma also used to say, try again.  This magic method is getting one more shot, just because I'm mad at it for wasting so much time and fabric already.  Next time I'm using pretty fabric too, Nyah!

Thursday, March 13, 2014

Creatively chugging

along..... Let's see.  I've made two pair of kid pants without a pattern.  It looks so easy, heck it kind of is easy, but I still managed to majorly screw up.  I don't know how I got the but/belly area so much smaller than needed, but I did.  Having made Rae's big butt baby pants in the past, I figured out a gusset for both the front and the back and saved the britches.  This would only work for a toddler who can't complain about the obvious weirdness, but who else would wear tinkerbell fabric in the daytime.  OK, probably there are grownups that would, probably not with the gusset.  Both cousins got a pair, one without the gusset after I paid more attention making the second pair.  Lined, trimmed in rick rack, and made on the 201 with the zigzag attachment to finish seams.


I also made a pair of chef pants for my adult son, and I whipped up two carry on bags for me and my friend. I learned fairly last minute that the airline had specifications for carry on that would cost me quite a bit to take the little wheeled case I already had.  So the day of departure I made two bags to exact specs they posted.  I don't have a picture of them, they aren't the prettiest, best made bags ever, but they did the job.  It whet my taste for bag making, and I've been musing about bags for some time now.  I'll have to try again soon.
 
The sewing that has been consistently engaging me is the sampler quilt I've been working on for maybe 3 months now.  It was a sew along a couple of years ago, I've been sewing it alone.  I'm surprised at how long its been taking me and that I've stuck with it.  I've only got 6 blocks done, if  you count the rejects I've done 9.  One was rejected because of obvious polyester that snuck in while the rest of the quilt is cotton.  One had funky points that will be square edged if it's ever sewed to anything else. I think the third came up just too small.  The rejects are in the top row.
 

The current block I'm working on is "Flying Geese, magic method".  I was kind of peeved with the magic method, which caused all my geese units to be a little bent or bowed.
 
It took me a couple units to figure out how to trim them correctly, so I don't know if this block will make the grade either.
 
Those diagonal markings are your friend.  I was trying to line up with the straight lines of length or width and that wasn't working.  The 45 degree angle made it right.
 
I found another vintage machine to work on.  This was in a local antique/pawn shop marked $50. and purchased for $20, with a box of attachments (alas for a slant needle, which this is not) thrown in.


Straight from the store it only hummed a little when plugged in, but the hand wheel turned freely and the needle went up and down.  Above it has had a minor cleaning and oiling and now runs pretty nicely.  I needed to screw the ancient light bulb back in and it's fine.  The bobbin is one of those freaky vibrating ones, looks like a screw and then gets dropped into a bullet looking thing.  My bullet thing is too rusty to try out yet and is sitting in a dish of PB Blast now.  Maybe I'll do a whole post on this machine later, maybe not.  Truth, I was thinking it might be a featherweight and I was getting a wonderful deal.  I don't know my vintage singers that well yet. This is a 3/4 size machine, but a whole different species of Singer.  I'm thinking puritans sewed with this moma.  This was manufactured in 1951 without a normal looking bobbin!!!!  There is no backstitch.  It clatters compared to my quiet 201.  I need to reserve final judgments until I see some stitches. 

Like the fish fabric in the background?  From the antique store a couple feet away.  I think my Momma had a church dress made out of this fabric in 1969.  Or maybe it was my dress.